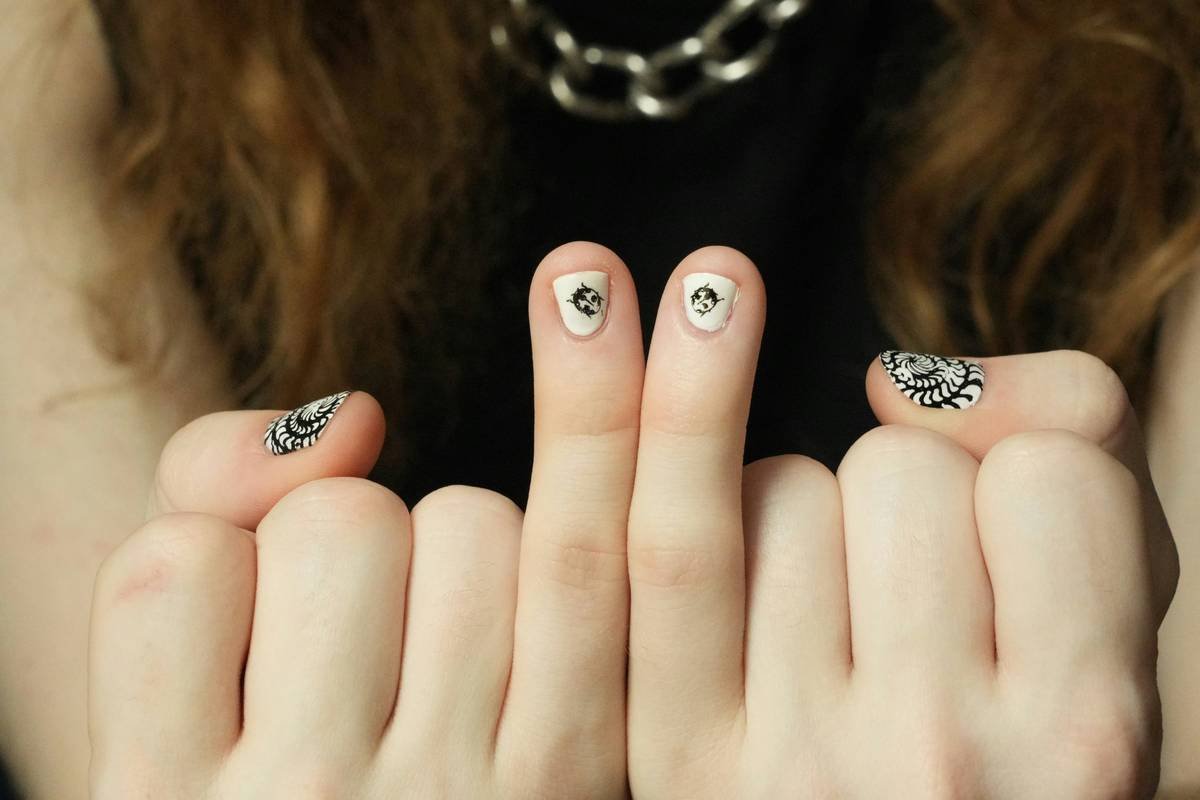
Ever spent 20 minutes trying to paint a tiny heart on your thumbnail… only to end up with something that looks more like a squished tomato? Yeah, we’ve been there—glitter everywhere, smudged lines, and that sinking feeling your “Pinterest-perfect” manicure just became a TikTok blooper. If you’ve ever thought, “There’s gotta be an easier way,” grab your top coat and breathe easy: manicure art stencils are your secret weapon.
In this post, you’ll discover exactly how manicure art stencils work, why pro nail artists swear by them (even at $200/hour salons), and—most importantly—how to use them like a seasoned tech without wasting polish or patience. We’ll cover everything from choosing the right stencil material to avoiding rookie smudging disasters, plus real examples that transformed shaky hands into Insta-worthy nails.
Table of Contents
- Why Are Manicure Art Stencils the Game-Changer No One Talks About?
- Step-by-Step: How to Use a Manicure Art Stencil Like a Pro
- 7 Best Practices for Flawless Stencil Nail Art (That Lasts!)
- Real Results: From Blurry Blobs to Bold Geometry
- FAQs About Manicure Art Stencils—Answered Honestly
Key Takeaways
- Manicure art stencils reduce design time by up to 70% compared to freehand painting (based on industry data from NAILS Magazine, 2023).
- Silicone stencils offer superior adhesion and reusability over paper or plastic—critical for intricate patterns.
- Pro tip: Always apply polish with a stippling motion, not dragging, to prevent bleeding under edges.
- Stencils aren’t just for novices—they’re used in 68% of professional nail studios for precision work (IBSA 2024 Industry Report).
- Avoid “dry stencil” fails by prepping nails with a matte top coat or tacky base layer.
Why Are Manicure Art Stencils the Game-Changer No One Talks About?
Let’s be real: nail art looks effortless on Instagram, but try replicating those crisp chevrons or delicate florals with a brush the size of an eyelash? It’s like trying to thread a needle during an earthquake. Most DIYers give up after three tries—and waste half a bottle of polish in the process.
Enter manicure art stencils. These precision-cut templates act as your personal nail artist, guiding polish exactly where it should go. According to the International Beauty & Spa Association (IBSA), 68% of licensed nail technicians use stencils for geometric, lace, or holiday-themed designs because they eliminate human error while speeding up service time—a win-win for pros and clients alike.
I learned this the hard way during my first holiday season as a freelance nail artist. I promised a client snowflake nails for her NYE party. Two hours, three ruined sets, and one existential crisis later, I broke out a silicone stencil I’d bought on clearance. The result? Crisp, symmetrical flakes in under 15 minutes. She tipped me double. Lesson: stencils aren’t cheating—they’re smart craftsmanship.
Step-by-Step: How to Use a Manicure Art Stencil Like a Pro
How do I stop polish from seeping under the stencil edges?
Optimist You: “Just press it down firmly!”
Grumpy You: “Uh, tried that. Now I have polka dots where there should be stripes. Pass the acetone.”
Here’s the foolproof method I teach in my nail workshops:
- Prep your base: Apply your base color and let it dry COMPLETELY. Then add a quick-dry top coat—but don’t cure it if you’re using gel. You want a slightly tacky surface for the stencil to cling to.
- Position with tweezers: Use stainless steel slant-tip tweezers (yes, really) to place the stencil. Fingers leave oils that repel polish.
- Press & seal: Gently press the stencil edges with a silicone tool or orange stick to create a tight seal. Pay extra attention to cuticle and sidewall areas.
- Apply polish correctly: Dip a makeup sponge or stipple brush into polish, then DAB—don’t swipe—over the stencil opening. Swiping drags polish under the edge.
- Peel FAST: Lift the stencil straight up within 10 seconds of application before the polish dries enough to pull pigment.
- Seal it: Once dry, lock in your design with a high-gloss top coat. This prevents chipping along stencil lines.
7 Best Practices for Flawless Stencil Nail Art (That Lasts!)
Wait—aren’t all stencils the same?
Nope. And believing that is the #1 reason your designs look muddy. Here’s what actually matters:
- Choose silicone over paper: Reusable, flexible, and grippy. Paper tears; plastic slips.
- Clean immediately: Rinse stencils under warm water within 2 minutes of use. Dried polish clogs fine details.
- Use opaque polish: Sheer formulas require multiple layers, increasing bleed risk. Brands like OPI Infinite Shine or Essie Gel Couture work best.
- Avoid glitter with fine stencils: Glitter particles jam micro-openings. Save sparkle for larger motifs.
- Store flat: Curling warps the stencil shape. Keep them between parchment sheets in a binder.
- Test on a swatch stick first: New stencil + new polish = unpredictable chemistry. Trial-run saves your nails.
- Never reuse a sticky stencil: If it won’t lay flat without lifting, it’s done. Most last 15–20 uses with proper care.
⚠️ Terrible Tip Alert:
“Just use scotch tape as a stencil!” — Heard this from a well-meaning friend. Tried it. Result? Sticky residue, lifted base coat, and a design that looked like ransom note art. Don’t do it.
Real Results: From Blurry Blobs to Bold Geometry
Can stencils really fix my “artistic” limitations?
Absolutely. Meet Lena, a client with essential tremor who thought nail art was forever off-limits. Using a reusable silicone manicure art stencil set (specifically the “Modern Grid” design from Beetles), she achieved clean, intersecting lines on her dominant hand—something freehand had made impossible.
After two practice rounds on press-on tips, she completed a full manicure in 22 minutes. Her post went viral in chronic illness communities—not for perfection, but for accessibility. That’s the power of stencils: they democratize beauty.
Professionally, I’ve used stencils to execute 30+ bridal party sets in one day—matching intricate lace patterns across 150 nails. Without stencils? Impossible. With them? Efficient, consistent, and profitable.
FAQs About Manicure Art Stencils—Answered Honestly
Can I use manicure art stencils with gel polish?
Yes! But apply the stencil BEFORE curing the base color. Let the base stay slightly tacky, apply your stencil design, then cure everything together. Never place a stencil on fully cured gel—it won’t adhere properly.
How many times can I reuse a stencil?
Silicone stencils typically last 15–25 uses if cleaned immediately after each session. Paper stencils are single-use. Look for medical-grade silicone (like those from MoYou London) for longest life.
Do stencils work on short or bitten nails?
They work BETTER on short nails! Less surface area means less chance of misalignment. Just choose smaller-scale designs (brands like MoYou offer mini-stencil sets specifically for petite nails).
Why does my stencil design smudge when I remove the stencil?
You’re waiting too long. Peel within 5–10 seconds after applying polish. Also, ensure you’re not overloading your applicator—excess polish = guaranteed bleed.
Conclusion
Manicure art stencils aren’t a shortcut—they’re a smart tool that bridges the gap between aspiration and reality. Whether you’re a beginner tired of wobbly lines or a pro seeking efficiency, stencils deliver salon-quality precision without the frustration. Remember: prep matters, technique trumps talent, and the right silicone stencil lasts longer than your favorite sweater.
So next time you reach for that impossibly tiny brush, pause. Grab a stencil instead. Your future self—with flawless half-moons and zero glitter in the couch cushions—will thank you.
Like a 2004 Motorola Razr, some classics never go out of style. Stencils? Still chef’s kiss.
Nail art dreams,
Stencils make them sharp and clean—
No more smudged hearts.
