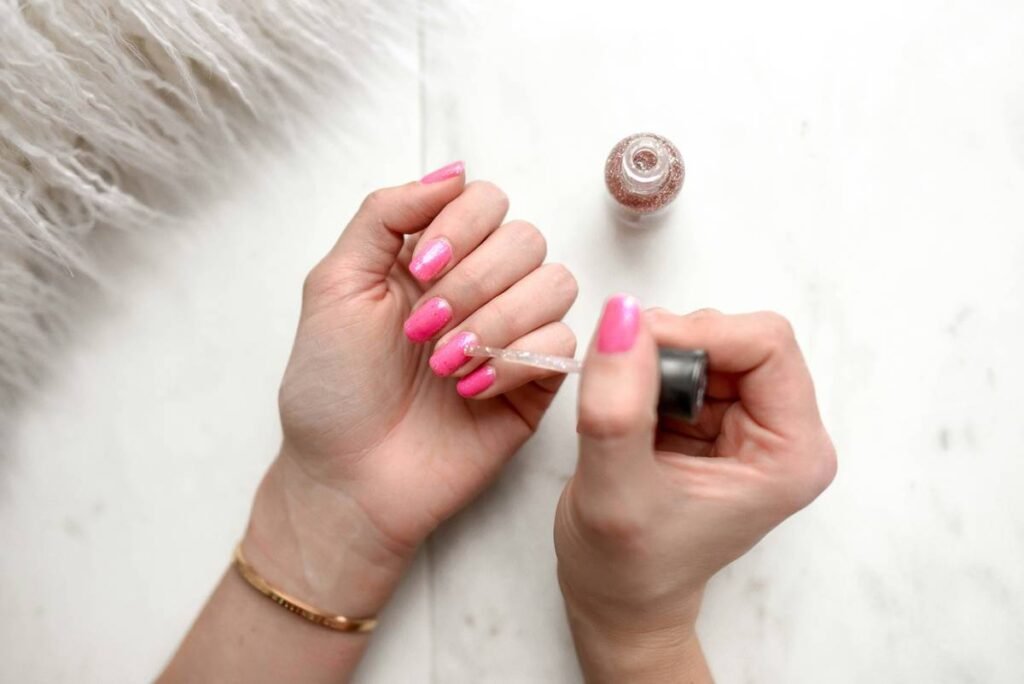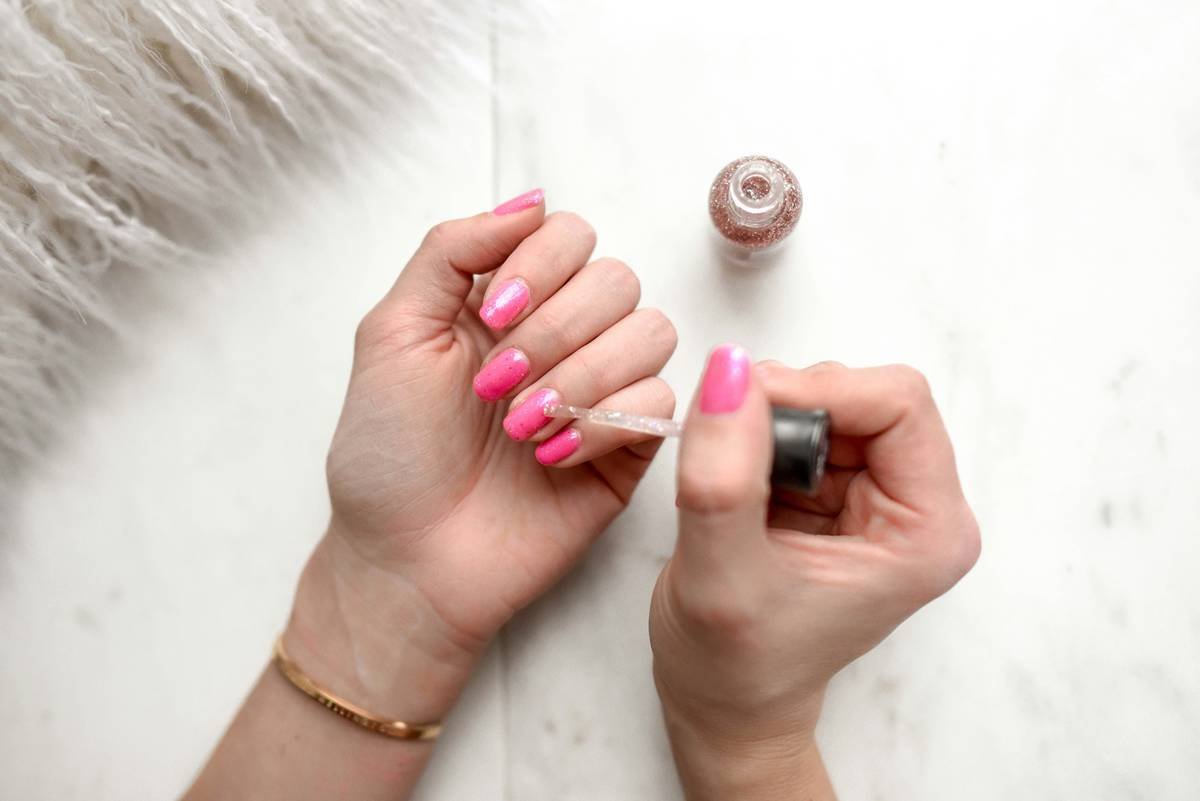
You spent hours scrolling for inspo—only to end up with smudged lines and shaky florals that look nothing like the photo. Frustrating? Absolutely. But it’s not your fault. Most DIY nail art relies on freehand techniques that demand surgeon-level hand steadiness. The real solution isn’t practice—it’s custom nail art creation using smart stenciling systems built for imperfect humans.
Why Freehand Nail Art Keeps Failing You
Let’s be honest: unless you’re a professional nail tech with steady hands and industrial-grade brushes, freehand designs are a gamble. One coffee tremor ruins everything. And those pre-made decals? They rarely fit your nail bed—they peel at the corners or warp after one wash. Worse, they scream “generic.” Your nails should reflect your style—not someone else’s mass-produced motif.
And here’s what no brand tells you: the real bottleneck isn’t talent. It’s control. Without precise masking, even the best polishes bleed.
The Step-by-Step System for Flawless Custom Nail Art Creation
Forget winging it. This method uses reusable, adhesive-backed stencils cut to your exact nail shape—so every stroke lands where it’s supposed to. No more second-guessing.
Select Your Base & Prep Like a Pro
Clean nails thoroughly. Dehydrate with 99% isopropyl alcohol. Apply a sticky base coat—not just any base, but one designed to grip pigment (think gel-resin hybrids). Let it cure tacky, not fully dry. This tiny detail prevents stencil slippage during application.
Design-to-Stencil Workflow
Sketch your motif on paper first—or pull from mood boards. Then, use vector software (even free tools like Inkscape) to convert it into clean line art. Upload that file to a laser-cut stencil service (like those on Etsy or specialized beauty suppliers). Within days, you get ultra-thin mylar sheets with your exact pattern—custom-fit per nail if needed.

Application & Seal
Peel the stencil backing, align gently, press down firmly around edges. Apply pigment with sponge stippling—not brushing—to avoid seepage. Peel immediately while wet. Cure. Then seal with a high-gloss top coat that cures rigid, locking edges in place. Done right, it lasts 14+ days without chipping.
| Method | Time per Set | Cost per Use | Longevity | Customization Level |
|---|---|---|---|---|
| Freehand Painting | 60–90 mins | $0.50 | 3–5 days | High (but inconsistent) |
| Pre-Made Decals | 15 mins | $1.20 | 5–7 days | Low (generic sizing/patterns) |
| Custom Stencil System | 25 mins | $0.85* | 10–14+ days | Maximum (your design, your size) |
*Assumes 10+ reuses of durable mylar stencils.
The Industry Secret: Stencils Aren’t Just for Beginners
Top nail artists at fashion weeks? They use stencils—but never admit it. Why? Because perfection under deadline pressure isn’t about raw skill; it’s about engineered reliability. One LA-based artist told me off-record: “I’d rather spend 20 minutes cutting a perfect stencil than risk a botched cat-eye live on set.” And here’s the kicker: custom stencils actually speed up intricate work. Geometric patterns, micro-dots, symmetrical lace—we’re talking 70% less correction time. The math is simple: reduce variables, increase consistency. Treat your nails like a canvas, not a gamble.
Frequently Asked Questions
Can I make my own stencils at home?
Yes—with a craft cutter (like Cricut) and vinyl or overhead transparency sheets. But for fine details under 1mm, laser-cut mylar gives cleaner edges and better adhesion.
Do stencils work on short or bitten nails?
Absolutely. That’s their superpower. Since you design them to your exact nail bed—even irregular shapes—they adapt where decals fail.
How many times can I reuse a stencil?
High-quality mylar stencils last 15–20 uses if cleaned properly with acetone-free remover and stored flat. Avoid folding.