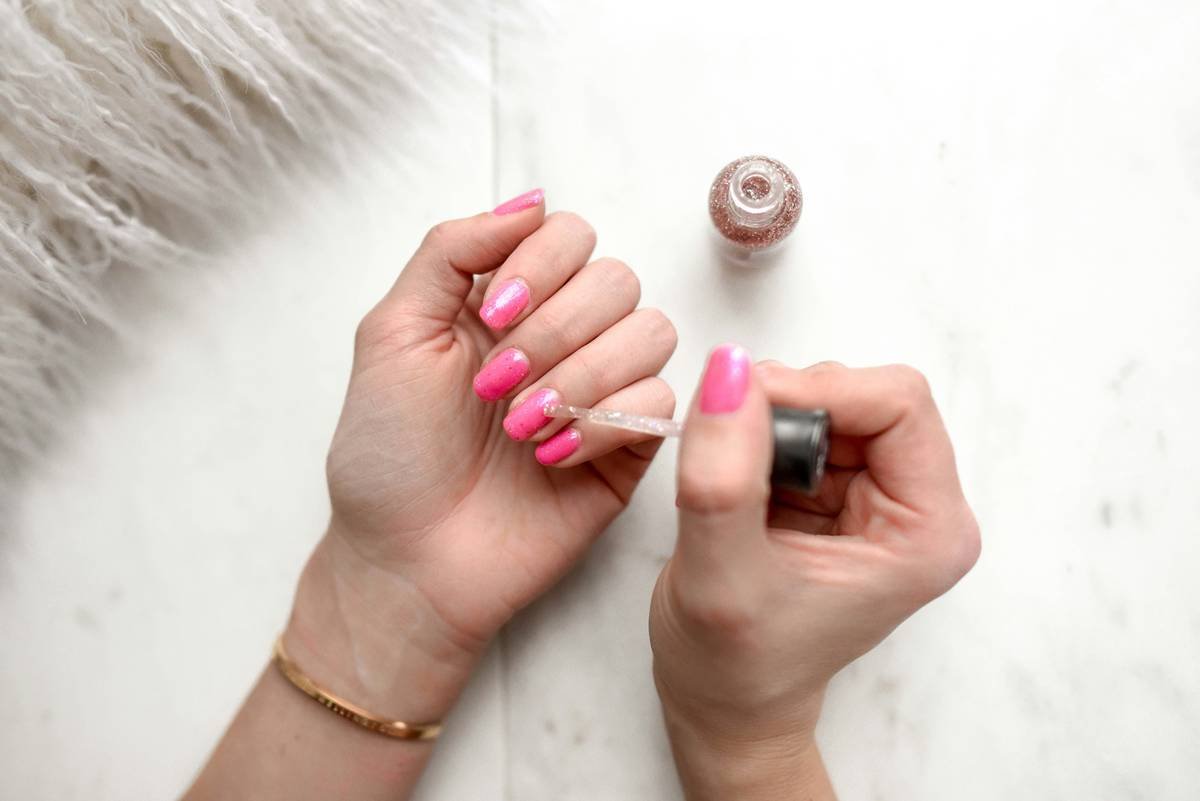
You spent 45 minutes trying to paint tiny hearts on your nails. They look like amoebas. Again. Frustration builds—why does “easy” nail art feel impossible? Here’s the fix: nail stencils. No brush control needed. Just press, paint, peel. Done.
Why freehand fails beginners (and wastes polish)
Most tutorials assume you’ve got surgeon-level hand steadiness. Reality? Tremors happen. Breathing messes up your line. And one slip ruins all ten nails. You end up scraping it off—again—and feeling defeated. Nail art shouldn’t require a caffeine cleanse just to stay still.
And traditional stamping kits? Bulky. Expensive. Half the plates never transfer cleanly. Beginners drown in gear before they’ve painted their first clean stripe.
Starter’s guide to foolproof beginner nail design
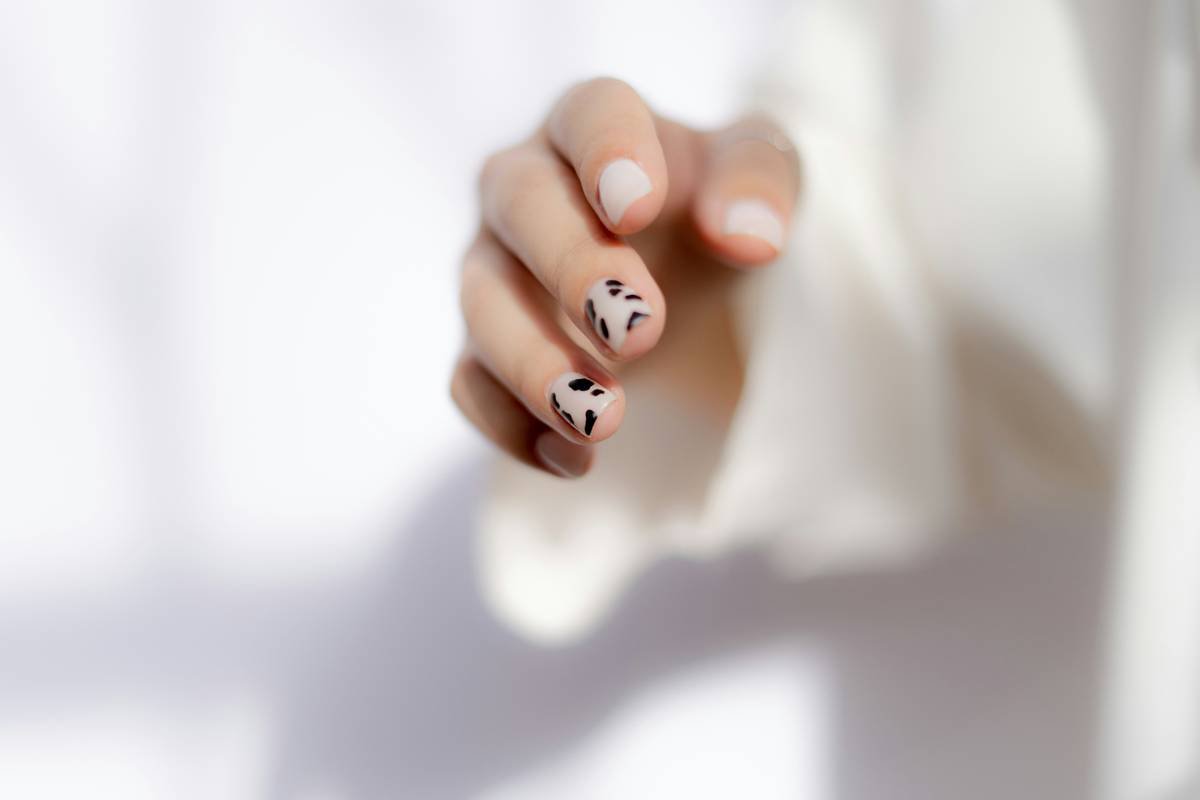
Nail stencils cut through the noise. They’re adhesive, pre-cut templates that stick right to your nail. Paint over them. Peel. Instant crisp lines. No cleanup. Here’s how to nail it:
Prep like a pro (not an afterthought)
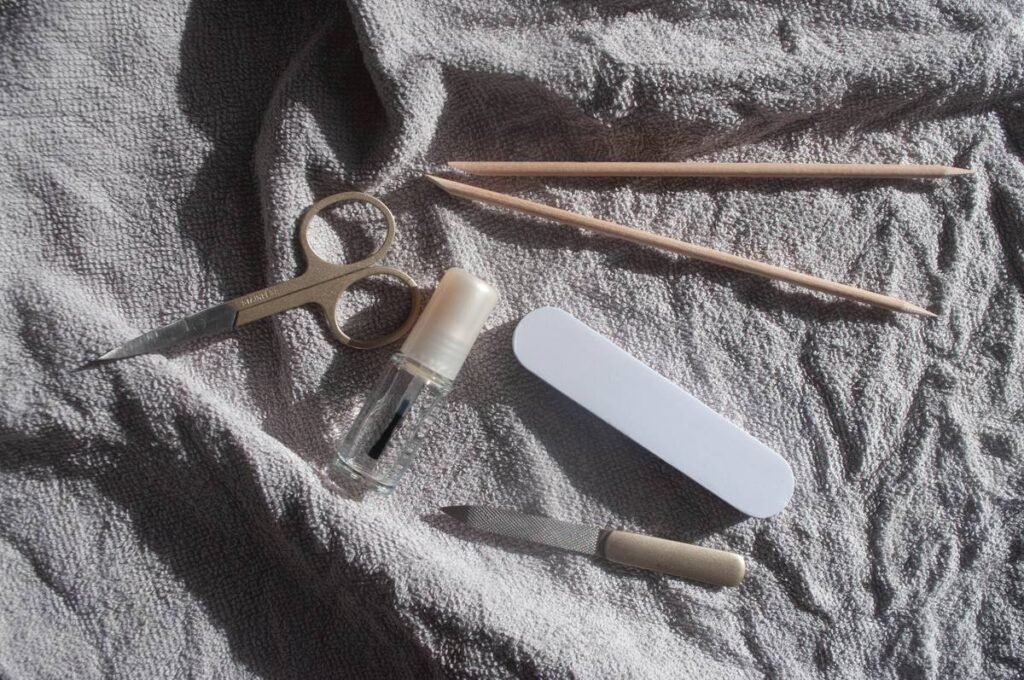
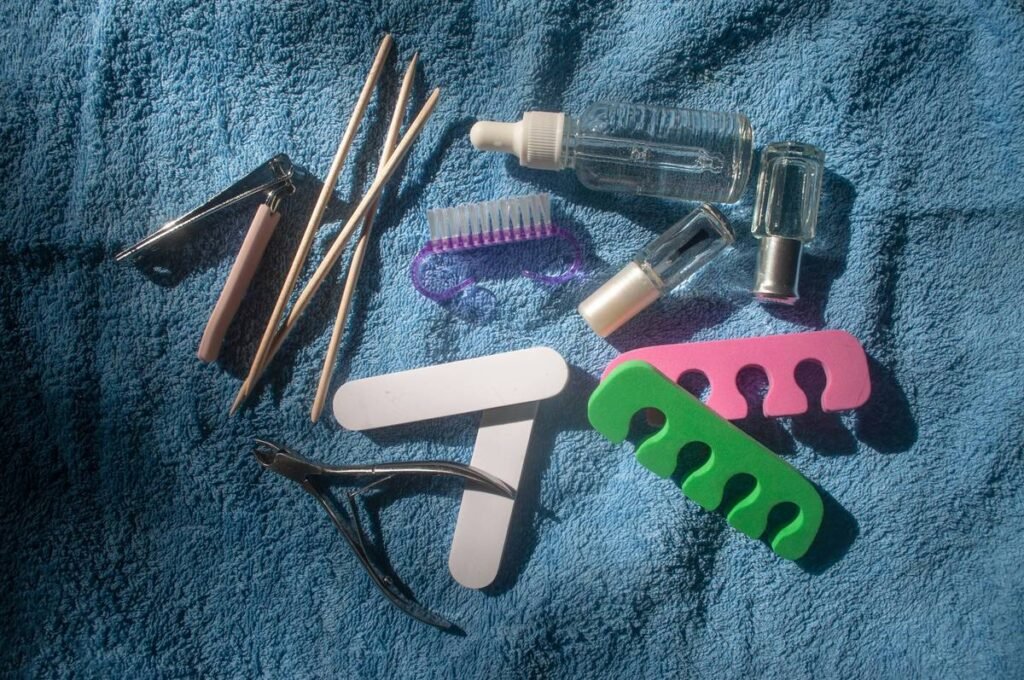
File, buff, and wipe nails with alcohol. Oily residue = stencil slide. That’s the #1 reason designs smudge. Dry base coat is non-negotiable—it grips the stencil AND your color.
Placement matters more than precision
Press the stencil down using a dotting tool or orange stick. Work from center outward to avoid air bubbles. Don’t rush. A slightly crooked stencil beats a lifted edge.
Pick the right polish consistency
Thick gel-like polishes bleed under stencils. Thin, watery ones pool. Aim for that Goldilocks viscosity—shake your bottle gently before use. Swipe once. Not twice.
| Method | Time per Nail | Cost (Starter Kit) | Success Rate for Beginners |
|---|---|---|---|
| Freehand Brush | 8–12 min | $5 (basic brushes) | ~30% |
| Nail Stamping | 5–7 min | $25+ | ~50% |
| Stencils | 2–3 min | $8–$12 | ~90% |
The industry secret: salon artists reuse stencils (but you don’t have to)
Most brands sell reusable silicone stencils. Sounds eco-friendly—until polish seeps into micro-tears after 2–3 uses. Then they ghost. Pros toss single-use vinyl stencils after one session. But here’s the hack: buy bulk disposable sheets (like those from Deitatis), cut your own shapes with a craft knife, and store them between wax paper. Fresh stencil every time. Costs pennies.
Think about it—your at-home kit shouldn’t mimic a $200 professional setup. It should solve the problem faster. That’s efficiency.
Beginner nail design FAQ
Do I need special polish for stencils?
No. Regular nail polish works fine—just avoid glitter-heavy formulas that clog tiny cutouts.
Can I layer stencils for complex looks?
Absolutely. Let each layer dry 60 seconds. Start light, go dark. Reverse order bleeds.
How long do stencil designs last?
Same as your top coat. Seal edges thoroughly—stencil art doesn’t chip faster if sealed right.