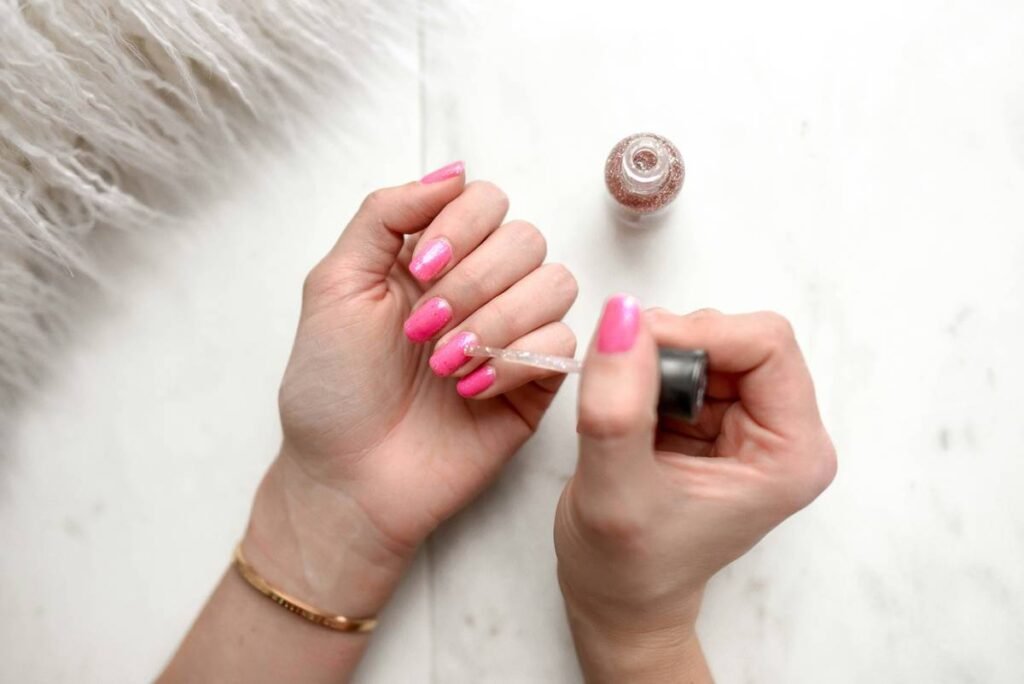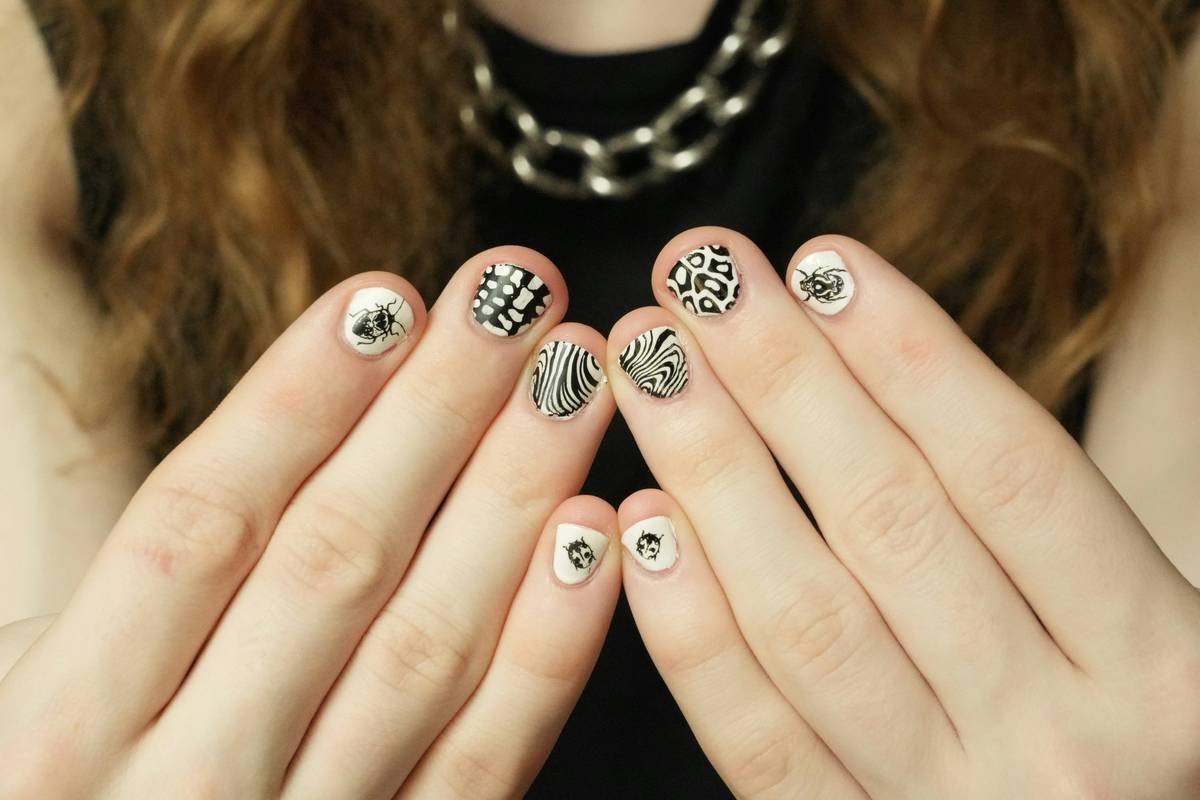
Spent hours painting intricate nail art—only to smudge it before it dries? You’re not alone. Most DIY nail artists hit a wall with freehand precision or cheap sticker stencils that peel mid-application. The frustration is real. But there’s a smarter, faster path to gallery-worthy nails: mastering your own unique nail stencil pattern.
Why Off-the-Shelf Stencils Fail Creative Nail Artists
Mass-produced nail stencils are designed for speed—not soul. They repeat the same geometric dots, hearts, and zebra stripes across thousands of kits. Boring. Worse—they’re often cut from flimsy vinyl that curls at the edges, leaking polish into your negative space. And unless you’ve got salon-grade adhesive, alignment drifts after two strokes.
Here’s the reality: true originality doesn’t come from Amazon 5-packs. It comes from custom control. Think about it—your nails are tiny canvases. Shouldn’t your tools reflect your personal aesthetic?
Designing Your Own Unique Nail Stencil Pattern: A Step-by-Step Blueprint
Pick Your Base Material Like a Pro
Forget sticker paper. Use **mylar drafting film** (0.004″ thick). It’s solvent-resistant, laser-cuttable, and clings via static—no glue residue. Available at art supply stores or online in bulk rolls.
Draft Patterns That Respect Nail Topography
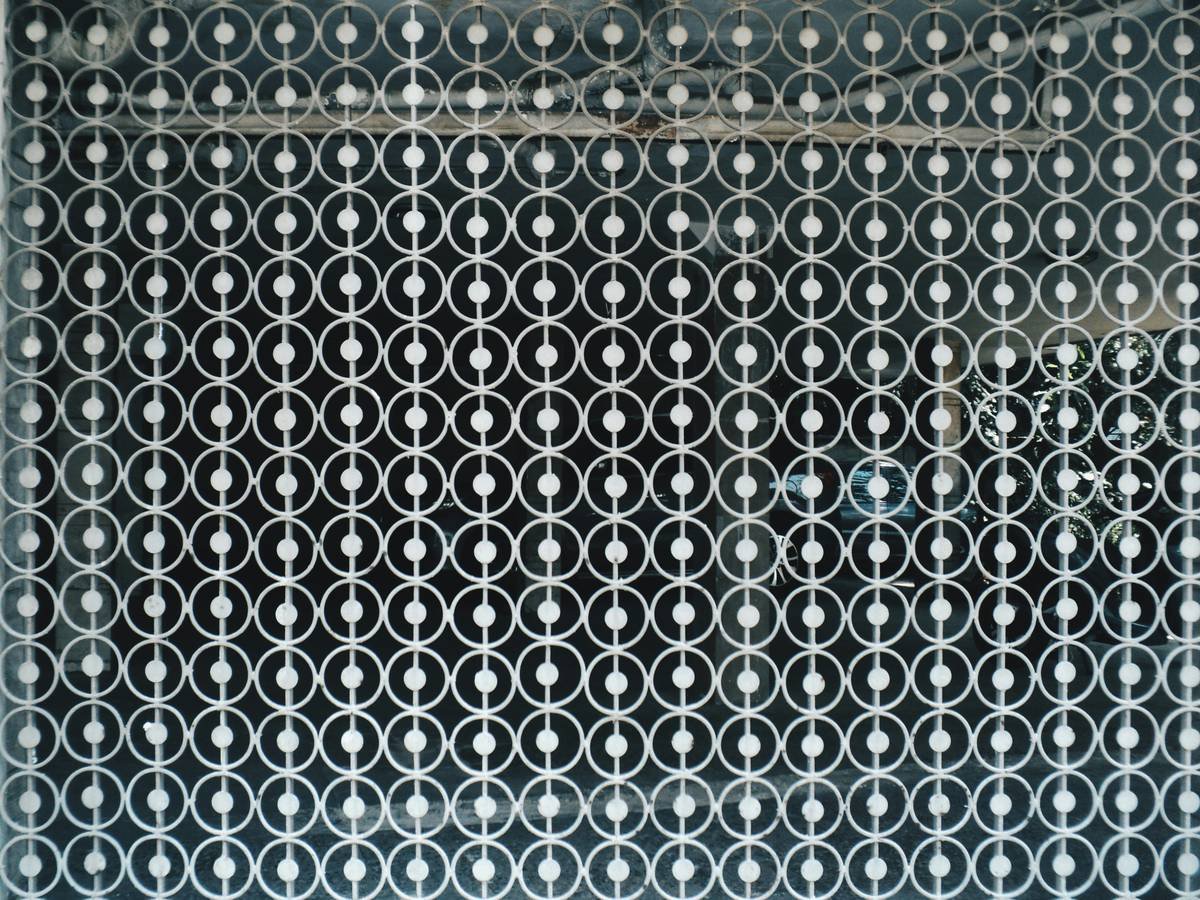
Nails aren’t flat. They curve. Avoid sharp angles near the cuticle or tip—they’ll lift. Instead, use flowing lines, organic clusters, or micro-motifs repeated asymmetrically. Sketch digitally in vector software (like Illustrator) or trace your actual nail shape onto graph paper first.
Cut, Clean, and Test Before Committing
If you don’t own a cutting machine (Cricut/Silhouette), hand-cut with an X-Acto knife on a self-healing mat. Always do a water-test: press the stencil onto a damp nail to check adhesion and fit. Tweak scale if needed.
| Method | Cost per Use | Customization Level | Durability |
|---|---|---|---|
| Pre-made sticker stencils | $0.10–$0.30 | Low (generic designs) | Single use |
| Laser-cut mylar stencil | $0.02–$0.05 | High (fully bespoke) | 15+ uses |
| Freehand with tape masking | $0.01 | Medium (limited by hand steadiness) | N/A |
The Industry Secret: “Ghost Stenciling” for Depth
Salon artists rarely admit this—but the most dimensional nail art isn’t built in one layer. Try **ghost stenciling**: apply your unique nail stencil pattern once with sheer polish, let dry, then slightly offset the same stencil and apply a deeper tone. The misalignment creates instant shadow play—like embossing without texture.
And yes—it works even with minimalist patterns. A single off-center crescent moon gains mystery when doubled in translucent gray over pearl white. The math is simple: repetition + displacement = perceived complexity.
Frequently Asked Questions
Can I reuse my custom nail stencils?
Absolutely—if cut from mylar or acetate. Wash gently with alcohol after use, air-dry flat, and store between glass sheets. Expect 10–20 flawless applications.
Do I need a cutting machine to make unique patterns?
No. Precision scissors or an X-Acto knife work fine for larger motifs. Save machines for micro-details like lace or filigree under 2mm wide.
How do I stop polish from bleeding under stencil edges?
Seal the perimeter lightly with quick-dry top coat first. Let it tack up for 15 seconds. Then apply color with a dry brush—less saturation equals cleaner lines.