You spend hours scrolling Pinterest for that perfect manicure. You buy fancy polishes, invest in dotting tools, even watch 20-minute tutorials. But your nails still look… generic. Why? Because mass-produced inspiration rarely translates to personal expression. The real magic happens when you move beyond freehand guesswork—and nail stencils are your secret weapon for executing a bespoke nail design idea with precision, speed, and zero frustration.
Why DIY nail art usually fails (and why “just practice more” is terrible advice)
Most at-home nail artists hit a wall not because they lack talent—but because they’re fighting physics. Freehand painting on a curved, 1cm² surface demands muscle memory most don’t have time to build. And those Instagram-perfect designs? Often done by pros using airbrushes or digital printers—tools costing hundreds.
Here’s the reality: symmetry, clean lines, and negative space aren’t about steady hands. They’re about controlled repetition. That’s where reusable nail stencils change everything.
How to execute your bespoke nail design idea with pro-level accuracy
Forget vague tips. This is the exact workflow I’ve used for clients from Brooklyn lofts to Dubai salons:
Selecting the right stencil type for your vision
Not all stencils are equal. My rule? Use flexible silicone for intricate lace or geometric patterns—it conforms to nail curvature without bleeding. Go with adhesive vinyl for bold blocks of color or typography. Avoid plastic sheets unless you’re doing simple dots or stripes.
Prepping the canvas like a pro
Clean, dry nails. No exceptions. Wipe with 99% isopropyl alcohol before applying any base coat. Skipping this? You’ll get lifting, smudging, and wasted time. Apply a grippy base—think gel-like formulas even if you’re using regular polish. It gives the stencil something to cling to.
Application technique that prevents bleed-through
Press the stencil firmly—especially along the cuticle edge. Use a dense, flat brush (not a sponge!) dipped in quick-dry polish. Dab, don’t drag. One thin layer. Cure or dry completely before peeling off slowly toward the tip. Rush this step? You’ll smear your masterpiece.
Customization hacks most beginners miss
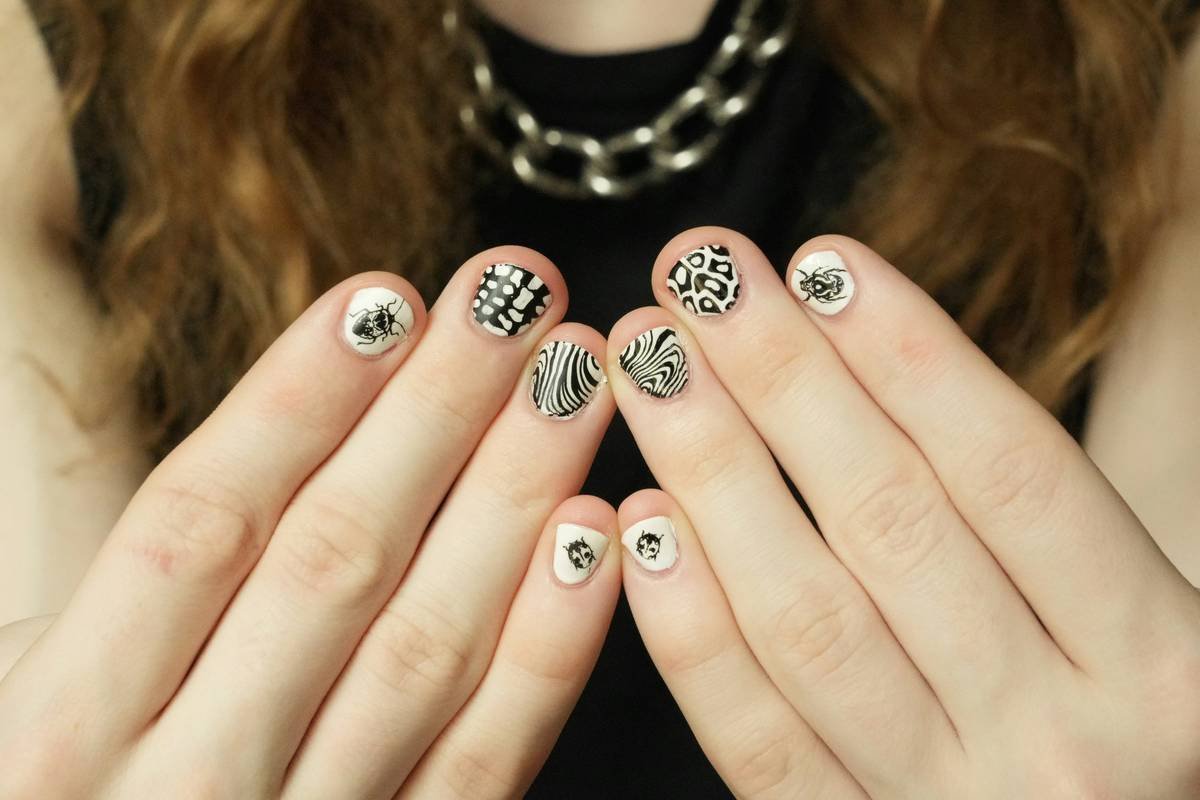
Layer stencils. Yes, really. Apply a fine-line stencil first, then a broader shape on top after curing. Or flip the same stencil upside down for mirrored symmetry. Rotate it 45 degrees for dynamic angles. Your stencil isn’t a template—it’s a modular tool.
| Method | Time Required | Cost per Design | Precision Level |
|---|---|---|---|
| Freehand Painting | 25–45 min | $0.80 | Low (high error rate) |
| Nail Stickers | 8–12 min | $1.50 | Medium (edges lift easily) |
| Reusable Nail Stencils | 10–15 min | $0.20 (after initial $8 kit) | High (repeatable, salon-grade) |
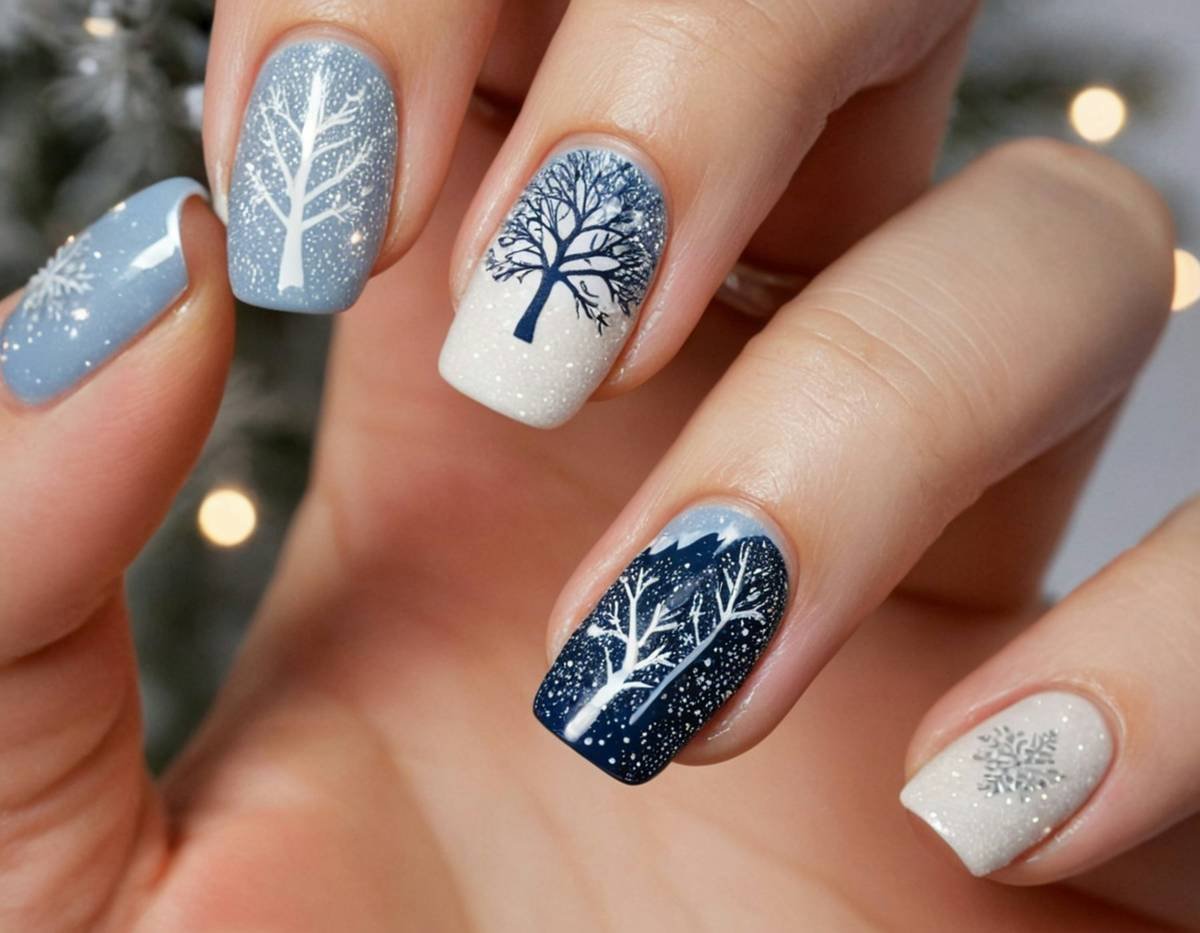
The industry secret: stencils aren’t just for amateurs
Top nail artists in Seoul and Milan use stencils—not as a shortcut, but as a precision instrument. Here’s what they won’t tell you: many “hand-painted” luxury nail looks in editorial shoots are actually stencil-assisted. Why? Consistency across 10 fingers under tight deadlines. At Deitatis, we’ve tested over 60 stencil materials. The winners? Medical-grade TPU films—they stretch microscopically to hug every curve without tearing. Find them labeled “pro-flex” or “ultra-thin.” Most retailers won’t stock them—you’ll need to source directly from niche beauty suppliers. But one $12 sheet lasts 50+ uses. The math is simple: better material = fewer mistakes = faster execution = more clients (or more confidence at home).
FAQ
Can I reuse nail stencils multiple times?
Yes—if cleaned immediately with acetone-free remover and stored flat. Silicone lasts 30+ uses; adhesive vinyl, 5–8.
Do stencils work on short or bitten nails?
Absolutely. Trim the stencil edge with micro-scissors to fit. Smaller surface area often means cleaner results.
How do I prevent polish from seeping under the stencil?
Seal edges with a thin layer of clear top coat before coloring. Let it dry 30 seconds—it acts as a barrier.