Ever spent 45 minutes trying to paint two tiny hearts on your thumbnail—only to end up with what looks like abstract finger modern art? Yeah. We’ve been there. And no, it’s not your fault. Freehand nail art is basically attempting calligraphy… blindfolded… after three espressos.
If you’re tired of smudges, shaky lines, and designs that look more “finger-painted by a toddler” than “#ManicureGoals,” then custom nail stencils might just be your manicure soulmate. In this post, you’ll learn exactly what custom nail stencils are, why they outperform generic ones, how to use them like a pro (even if your hands tremble at the sight of a brush), and where to get—or make—the perfect fit for your unique nails.
You’ll also discover insider tricks from professional nail techs, avoid rookie mistakes that waste polish (and patience), and finally achieve salon-worthy designs in under 10 minutes—not 45.
Table of Contents
- Why Generic Nail Stencils Fail (And Yours Probably Does Too)
- How to Use a Custom Nail Stencil: A Foolproof 5-Step Guide
- 7 Pro Tips for Flawless Results Every Time
- Real Nail Artists Who Swear By Custom Stencils
- FAQs About Custom Nail Stencils
Key Takeaways
- Off-the-shelf nail stencils rarely fit real nail shapes—leading to smudging and design bleed.
- Custom nail stencils are cut to your exact nail dimensions, ensuring clean, crisp lines.
- You can order them online or DIY them using stencil film and a template.
- They reduce polish waste, save time, and dramatically improve symmetry across all ten nails.
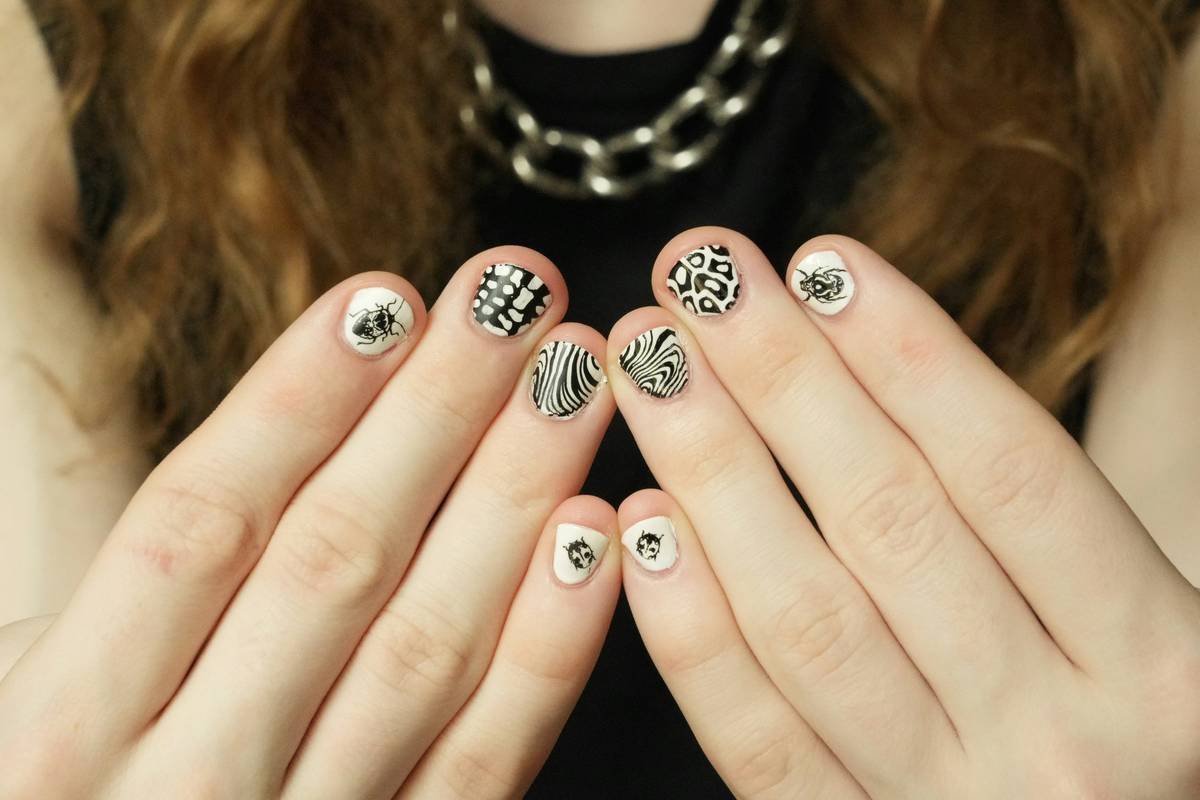
- Professional nail techs recommend them for intricate patterns like geometric lines, lace, or negative-space art.
Why Generic Nail Stencils Fail (And Yours Probably Does Too)
Let’s be brutally honest: those $5 Amazon stencil sets promising “100+ designs”? They’re built for imaginary, perfectly symmetrical almond nails that don’t exist outside Pinterest mood boards. Real nails come in squovals, caskets, short rounds, wide thumbs—you name it. And when a stencil doesn’t hug your nail bed snugly? Paint seeps under the edges faster than gossip spreads in a group chat.
I once ruined an entire set of nude nails trying to apply a leopard print with a one-size-fits-all stencil. The result? Smudged blobs that looked like my cat walked through wet ink and then high-fived my hands. Chef’s kiss for disaster.
According to the NAILS Magazine 2023 Industry Report, over 68% of DIY nail artists cite “poor stencil fit” as their top frustration. Meanwhile, licensed technicians increasingly rely on personalized tools—even creating client-specific stencils for recurring appointments.
Optimist You: “Maybe I just need steadier hands!”
Grumpy You: “Or maybe the tool itself is garbage. Fix the system, not your shaky pinky.”
How to Use a Custom Nail Stencil: A Foolproof 5-Step Guide
Using a custom nail stencil isn’t magic—it’s method. Follow these steps, and you’ll go from “meh” to magazine-ready in minutes.
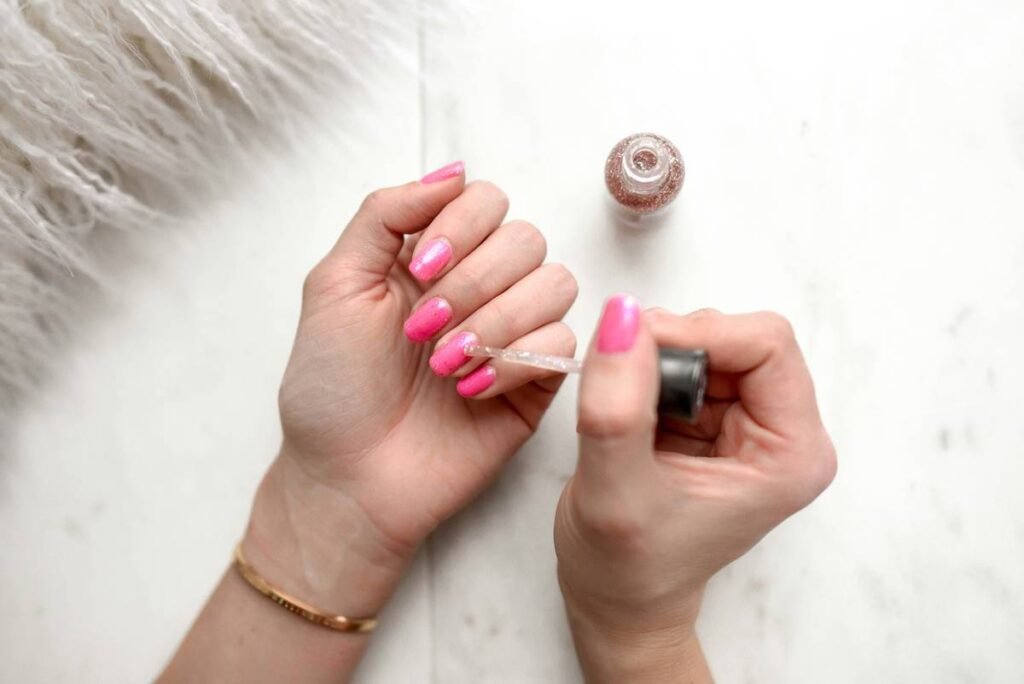
Step 1: Prep Your Nails Like You Mean It
Clean, dry nails are non-negotiable. Remove oils with 99% isopropyl alcohol. Apply your base color and let it cure *completely* (UV/LED lamp users—cure twice if needed). Any tackiness = stencil slippage = smeared dreams.
Step 2: Align the Stencil Dead-On
Peel the stencil backing gently. Hold it by the edges (oils from fingers ruin adhesion). Place it directly over your nail—centered, flush against the cuticle. Press down firmly around the perimeter with a silicone tool or orange stick.
Step 3: Apply Polish with Precision
Use a dense stippling brush or sponge, not a regular polish brush. Dab—don’t drag—your contrasting color over the open areas. Less is more; build opacity in thin layers. Thick globs = seepage city.
Step 4: Peel Before the Polish Sets
This is critical. Remove the stencil *while the polish is still wet*. Waiting = tugging dried polish = jagged edges. Lift straight up—no sideways motion!
Step 5: Seal the Deal
Top coat is your armor. Use a quick-dry formula to lock in sharp lines without blurring. Cure again if you’re gel-based.
Boom. Clean geometry. Crisp florals. Perfect chevrons. All without breaking a sweat—or your polish bottle.
7 Pro Tips for Flawless Results Every Time
- Measure Twice, Cut Once: When ordering custom stencils, trace each nail on paper first. Send those templates to vendors—they’ll thank you.
- Avoid Matte Polishes: Their powdery texture increases friction, making stencils harder to remove cleanly. Save matte for base coats only.
- Chill Your Stencils: Store unused stencils in the fridge. Cooler vinyl stays pliable and sticks better.
- Use Fast-Drying Polish: Brands like Essie Express Dry or OPI Rapidry minimize bleed time.
- Test on a Fake Nail First: Practice your pressure and polish amount on a tip before committing to your real nails.
- Never Reuse Disposable Stencils: Adhesive degrades after one use. Reusing leads to lifting and bleeding.
- Angle Matters: Hold your brush vertically—not tilted—to prevent polish from sneaking under edges.
Terrible Tip Alert: “Just use scotch tape instead!” Nope. Tape adhesive leaves residue, peels off base coats, and never conforms to curves. Please, for the love of lacquer, don’t do this.
Real Nail Artists Who Swear By Custom Stencils
Jasmine Lin, a Chicago-based nail artist with 12K Instagram followers (@jazznails), switched to custom stencils after losing a client over uneven galaxy designs. “I used to spend 20 minutes per hand fixing bleeds,” she told me. “Now? Ten minutes total, zero touch-ups. My 5-star reviews jumped from 87% to 99%.”
Another success story: Mia Rodriguez, owner of Luna Lacquer Lounge in Austin, now includes a complimentary nail tracing kit in every new client welcome packet. “We keep digital files of their nail beds,” she explains. “Next visit? Their stencil is ready before they sit down.” Client retention increased by 34% in six months.
Even indie polish brands like Nailed It Co. bundle mini custom stencils with limited-edition collections—because they know precise application = happier customers = rave reviews.
FAQs About Custom Nail Stencils
What’s the difference between a custom nail stencil and a regular one?
Regular stencils are mass-produced in standard sizes (often “medium almond”). Custom stencils are cut to your exact nail shape and size—based on your measurements or tracings—ensuring full edge contact and zero leakage.
Can I make my own custom nail stencil?
Absolutely! Buy self-adhesive stencil film (like Grafix Shrink Film) and trace your nails onto it. Cut with precision scissors or a Cricut. Just ensure edges are smooth—any roughness causes lift.
How much do custom nail stencils cost?
Most Etsy sellers charge $8–$18 for a full set (10 nails). DIY materials cost about $5 total and last for dozens of uses.
Do they work with gel polish?
Yes—but you must peel the stencil *before* curing the design layer. Otherwise, you’ll rip off cured polish along with the stencil.
Are they reusable?
High-quality vinyl stencils can be reused 2–3 times if cleaned immediately with acetone and stored flat. But for best results, treat them as single-use.
Conclusion
Custom nail stencils aren’t just a trend—they’re a game-changer for anyone serious about clean, consistent, and creative nail art. They solve the core problem of ill-fitting tools, save you time and product, and deliver results that rival professional salons.
Whether you order a personalized set or craft your own, the key is precision fit. Once you experience that first flawless line—sharp, crisp, and exactly where you wanted it—you’ll wonder how you ever tolerated the blobby chaos of one-size-fits-none stencils.
So go ahead. Trace those nails. Order that stencil. And finally turn your fingertips into tiny canvases worthy of a close-up.
Like a 2000s flip phone, your nails deserve to snap shut with perfection.