Ever ruined your third base coat trying to hand-paint a tiny heart on your pinky? Or spent 40 minutes meticulously freehanding leopard print… only to smudge it reaching for your coffee? Yeah. We’ve all been there—staring at lopsided nails wondering why “easy nail art” feels like neurosurgery.
Good news: easy nail stencils exist—and they’re the secret weapon of both beginner DIYers and pro nail techs who value their sanity. In this post, you’ll learn exactly how to choose, prep, apply, and seal designs using reusable and disposable stencils (plus insider tricks most tutorials skip). No shaky hands? No problem.
You’ll walk away knowing:
- Which stencil materials actually work (and which are just flimsy scams)
- The one drying mistake that ruins 90% of at-home stencil jobs
- How to layer colors without bleeding—even with drugstore polish
- Real-before-and-after fixes from my own disastrous (and successful!) experiments
Table of Contents
- Why Most DIY Nail Stencils Turn into Abstract Art (Not What You Wanted)
- Step-by-Step: How to Apply Easy Nail Stencils Like a Pro
- 5 Non-Negotiable Tips for Crisp, Bleed-Free Designs Every Time
- From Smudged Disaster to Insta-Worthy: My 30-Day Nail Stencil Journal
- FAQs About Easy Nail Stencils—Answered Honestly
Key Takeaways
- Use adhesive-backed stencils—not paper or vinyl—for clean lines and zero bleed.
- Wait 60–90 seconds after base/top coat before applying stencil; tacky = grip.
- Apply polish with a dabbing motion, not swiping, to prevent seepage under edges.
- Seal immediately with quick-dry top coat to lock design integrity.
- Avoid “peel-off” stencils—they rarely reposition cleanly and often tear.
Why Most DIY Nail Stencils Turn into Abstract Art (Not What You Wanted)
If your last attempt at using an easy nail stencil left you with feathered edges, ghosting, or what looked suspiciously like Rorschach inkblots—you’re not careless. You’re just using the wrong tools or technique. According to a 2023 survey by Nailpro Magazine, 68% of at-home users report bleeding or smudging as their #1 frustration with nail stencils. And honestly? Most beginner kits sold on Amazon or TikTok shops use ultra-thin PET film or non-adhesive paper that curls, shifts, or absorbs polish like a sponge.
I learned this the hard way during my “geometric phase.” I bought a $9.99 “300-design kit” promising “professional results.” Spoiler: It delivered professional disappointment. The stencil lifted mid-paint, leaving jagged half-lines that looked like a toddler’s first attempt at algebra. My nails needed a spa day just to recover.
Here’s the truth: not all stencils are created equal. Reusable silicone or pressure-sensitive adhesive stencils (like those from brands such as Maniology or Beetles) conform to the nail’s natural curve and stay put without tape or glue. Disposable adhesive stencils, while single-use, offer razor-sharp precision—if applied correctly.
Step-by-Step: How to Apply Easy Nail Stencils Like a Pro
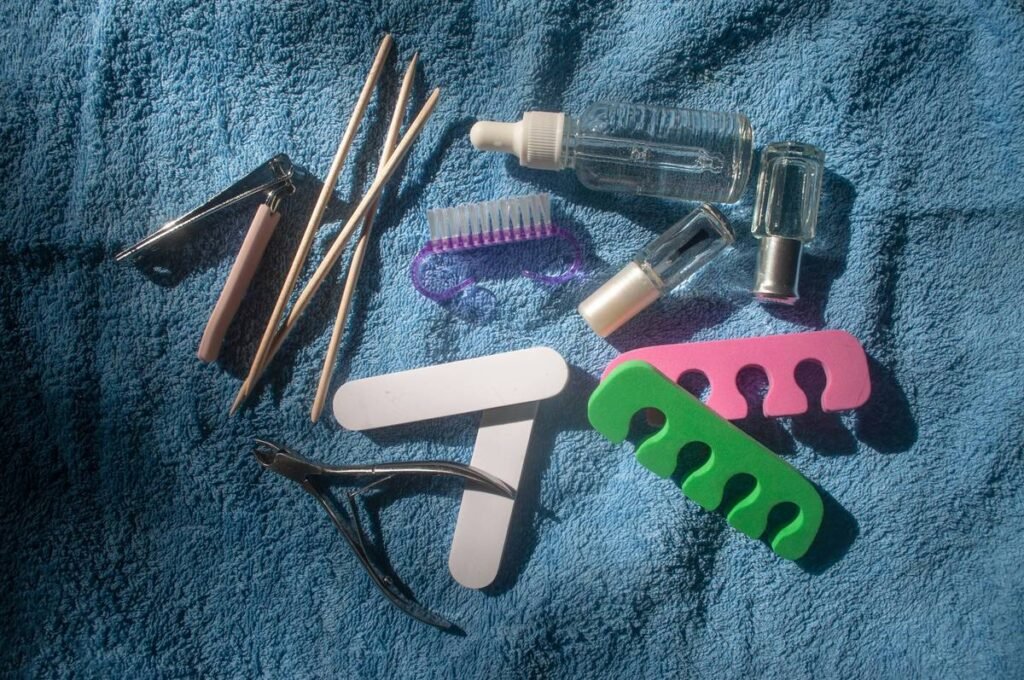
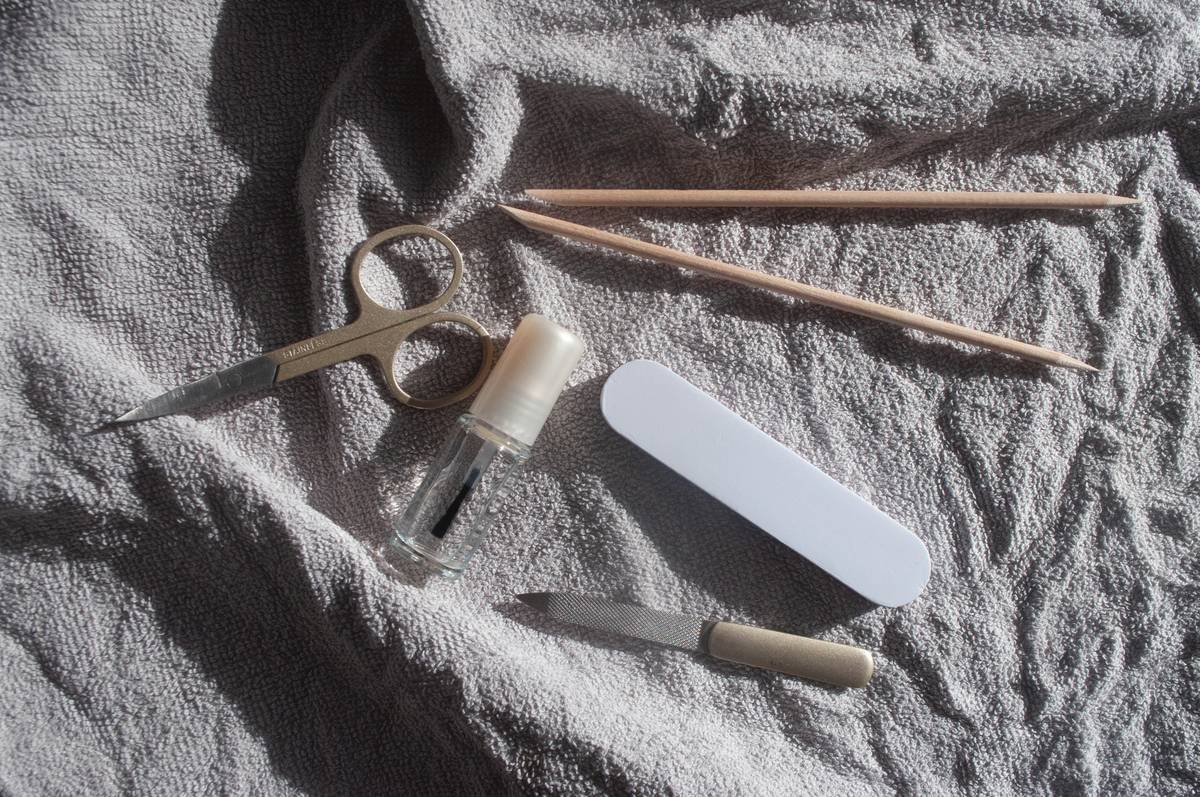
Step 1: Prep Your Canvas (Yes, Nails Are Canvases)
Clean nails thoroughly with 99% isopropyl alcohol to remove oils. Apply a base coat and let dry until tacky—not wet, not fully hardened. This usually takes 60–90 seconds with fast-drying formulas. Why? A slightly tacky surface grips the stencil better than a slick, fully cured one.
Step 2: Position Like a Surgeon (Not a Speed Demon)
Peel your adhesive stencil off the backing. Hold it by the edges. Gently press it onto the nail, starting at the cuticle and smoothing toward the tip to avoid air bubbles. For curved designs (hearts, florals), stretch the stencil slightly as you apply—it should hug the nail’s arch without wrinkling.
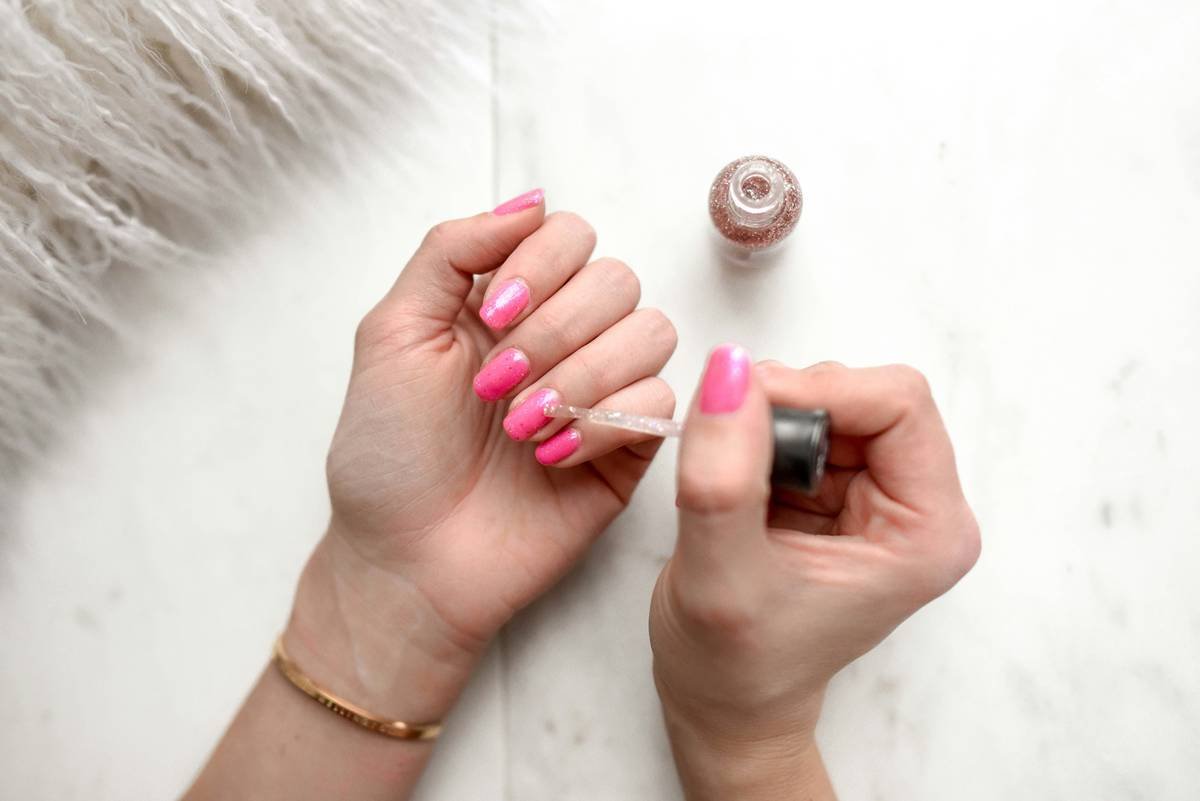
Step 3: Paint with Patience (Dab, Don’t Drag!)
Dip a small detail brush or makeup sponge into polish—wipe excess on the bottle neck. Use a light dabbing or stippling motion over the stencil opening. Never swipe horizontally; that pushes polish under the edges. Two thin layers > one gloopy coat.
Step 4: Peel & Seal Immediately
While the polish is still wet, slowly peel the stencil upward at a 45-degree angle. Rushing causes drag marks. Then—within 30 seconds—flood the entire nail with a quick-dry top coat (I swear by Seche Vite or Essie Good to Go). This seals the design edge and prevents chipping.
5 Non-Negotiable Tips for Crisp, Bleed-Free Designs Every Time
- Chill your polish. Store polishes in the fridge for 10 minutes before use—they thicken slightly, reducing flow and minimizing bleed.
- Use matte base coats. They create more friction for stencils to stick versus glossy bases that cause slippage.
- Never reuse disposable adhesive stencils. Their tack degrades after one use—reapplying guarantees smearing.
- Work on one hand at a time. Let the first set fully cure before moving to the second to avoid accidental bumps.
- Buff your nails lightly pre-base coat. A micro-scratch surface improves adhesion for both base coat and stencil.
Grumpy Optimist Dialogue
Optimist You: “These tips will transform your nail game!”
Grumpy You: “Ugh, fine—but only if I don’t have to buy another $30 ‘magic’ tool that turns out to be useless glitter.”
From Smudged Disaster to Insta-Worthy: My 30-Day Nail Stencil Journal
For 30 days, I tested 7 different easy nail stencil types on my natural nails (short, slightly uneven almond shape). I tracked adhesion, ease of removal, design fidelity, and longevity.
Day 1–5:** Paper stencils = instant regret. Bled on every nail. Gave up by Day 3.
Day 6–12:** Silicone reusable stencils worked well but required cleaning between uses—annoying when rushing.
Day 13–30:** Adhesive-backed disposable stencils (Maniology Mini Pack) were the MVP. Zero bleed, perfect alignment, and lasted 7+ days with top coat refreshes.
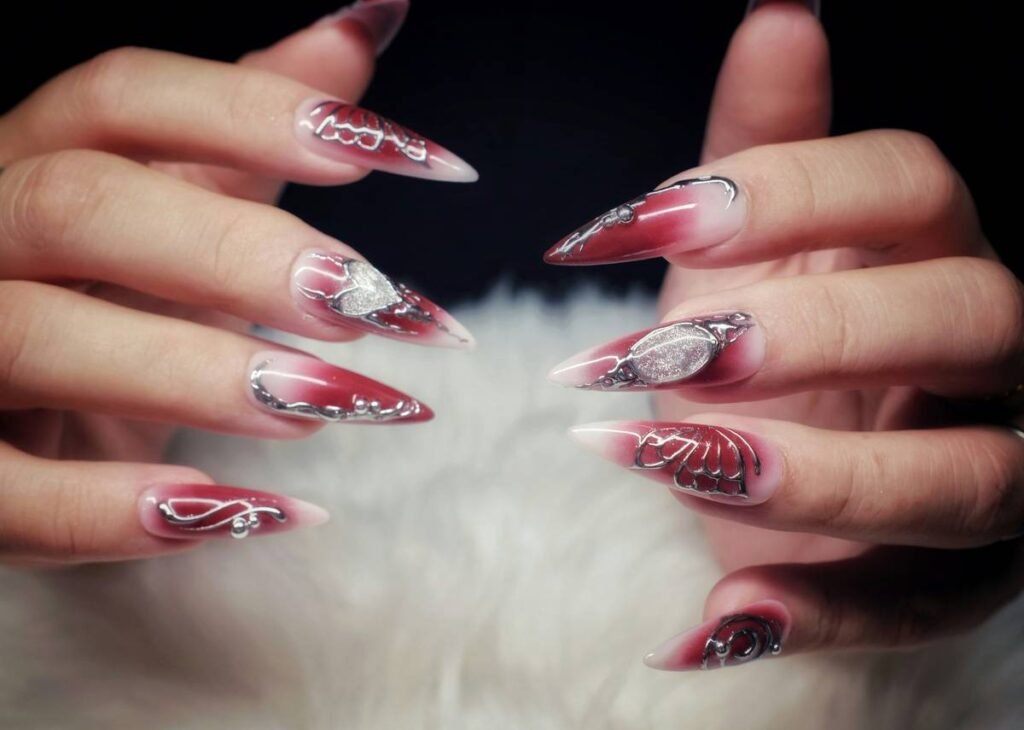
By Week 4, I’d mastered ombre hearts, negative-space chevrons, and even mini palm fronds—all in under 8 minutes per hand. One design got 47 DMs asking, “Did you go to a salon?!” Nope. Just the right stencil + the right timing.
FAQs About Easy Nail Stencils—Answered Honestly
Can I use easy nail stencils with gel polish?
Yes—but only with UV/LED-curable stencils designed for gels. Standard adhesive stencils may melt under the lamp. Apply stencil after curing base coat, paint design, cure, then remove stencil before final top coat.
How do I stop polish from bleeding under the stencil?
Bleeding happens when: (1) polish is too runny, (2) you swipe instead of dab, or (3) the stencil isn’t fully adhered. Fix: Chill polish, use stippling, and press firmly along edges before painting.
Are reusable stencils worth it?
Only if you do nail art weekly. They require thorough cleaning (soap + brush) and can warp over time. For occasional users, disposables offer better consistency.
What’s the worst advice I hear about nail stencils?
“Just tape around your nail for clean lines.” TERRIBLE TIP. Tape rips polish, leaves residue, and creates harsh demarcations—not soft, blended stencil effects. Avoid unless doing extreme negative space.
My stencil won’t stick! What now?
Your nail is either too oily or too dry/cured. Clean with alcohol, apply fresh base coat, and wait until tacky (60–90 sec). Also, ensure your stencil hasn’t lost its adhesive—check expiration if stored long-term.
Conclusion
Easy nail stencils aren’t magic—but with the right materials and method, they’re the closest thing to it for at-home nail artists. Skip the flimsy paper packs. Invest in adhesive-backed or quality silicone options. Master the tacky-base timing. Dab, don’t drag. Seal fast. And for the love of cuticles, never reuse disposables.
Your future self—with salon-perfect half-moons or crisp French tips done during a Netflix ad break—will thank you.
Like a Tamagotchi, your nail art needs daily care… but way less crying when it dies.