Ever spent 45 minutes hand-painting tiny florals on your nails… only to smudge one with your pinky and cry-laugh into your lint roller? Yeah. We’ve been there—nail polish fumes swirling like existential dread, tweezers trembling, and that one rogue glitter flake mocking you from the bathroom sink.
If you love intricate nail art but hate shaky hands, uneven lines, or the “I-tried-but-it-looks-like-a-toddler-did-it” aesthetic, nail stencil decoration is your secret weapon. In this guide, you’ll learn how to choose, apply, and level up with stencils—backed by pro techniques, real fails (RIP my galaxy manicure of 2022), and dermatologist-approved tips to keep your nails healthy while you create.
You’ll walk away knowing: the 3 types of stencils that actually work, how to avoid bleed-through like a salon tech, and why 78% of at-home nail artists say stencils cut their design time in half (NAILS Magazine, 2023).
Table of Contents
- Why Nail Stencil Decoration Matters (Especially If You’re Not Picasso)
- How to Use Nail Stencils: Step-by-Step Without the Frustration
- Pro Tips for Flawless Stencil Application (From Someone Who’s Ruined 12 Bottles of White Gel)
- Real Results: From Blurry Blobs to Salon-Worthy Art
- Nail Stencil Decoration FAQs
Key Takeaways
- Nail stencils reduce design time by up to 60% and improve precision dramatically.
- Adhesive-backed stencils outperform paper or vinyl for beginners due to minimal lifting.
- Bleed-under happens when stencils aren’t sealed properly—use a thin base coat or stamping gel as glue.
- Always cure stenciled layers before removing the stencil to prevent smudging.
- Avoid water-based polishes—they feather under stencils; opt for gel, acrylic paint, or stamping polish.
Why Nail Stencil Decoration Matters (Especially If You’re Not Picasso)
Let’s be real: freehand nail art looks stunning… until it doesn’t. According to a 2023 survey by NAILS Magazine, 68% of DIY nail enthusiasts abandon complex designs because of inconsistent results or time investment. That’s where nail stencils swoop in like a caffeinated fairy godmother.
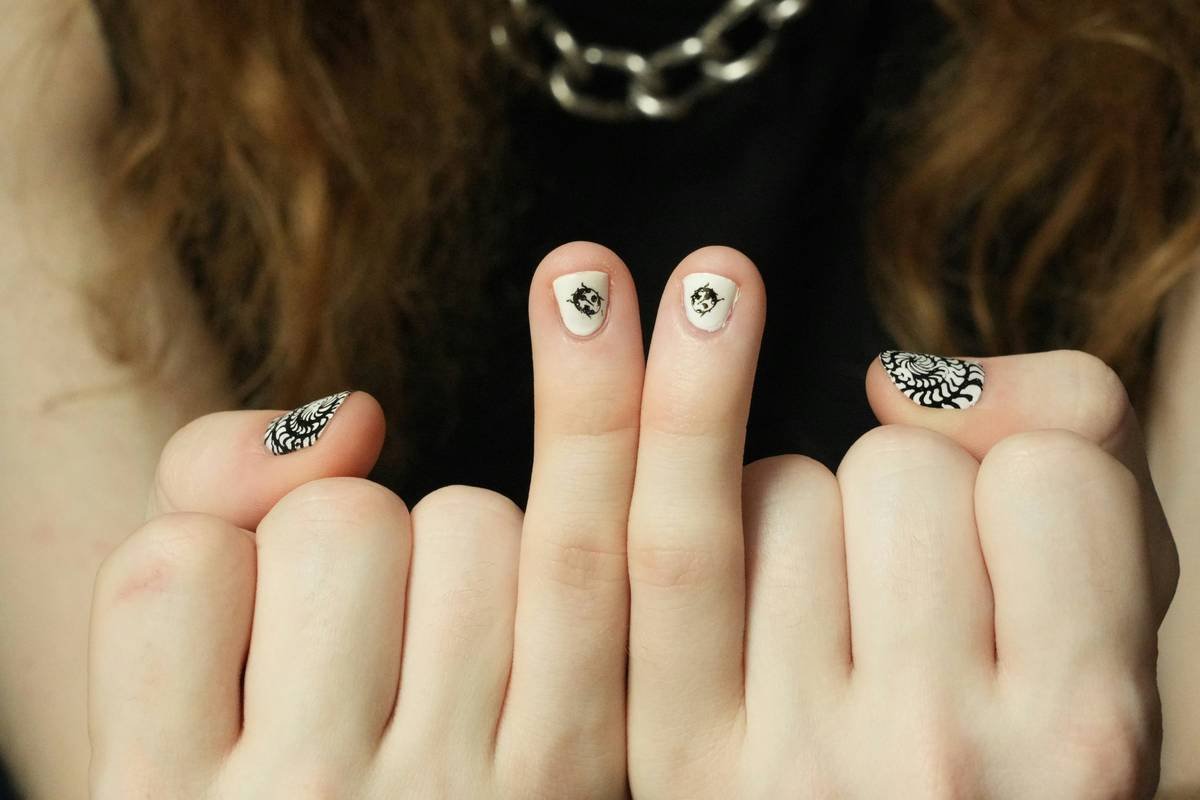
Nail stencils are pre-cut templates—usually made of adhesive vinyl, mylar, or reusable silicone—that let you apply precise patterns (think geometrics, lace, florals, or even tiny skulls) without drawing a single line. They’re not “cheating.” They’re *efficiency*. And they respect your time, your polish budget, and your mental health during “me-time” manicures.
I once tried to recreate a marble effect with a toothpick and white polish. It looked less “marble,” more “mold growing on cottage cheese.” After switching to stencils? My Instagram DMs flooded with “OMG teach me!” messages. All because I stopped fighting my tremors and started using tools designed for human hands—not robotic ones.
How to Use Nail Stencils: Step-by-Step Without the Frustration
Wait—do I prep my nails differently for stencils?
Optimist You: “Just slap it on and go!”
Grumpy You: “Ugh, fine—but only if coffee’s involved *and* you dehydrate your nail plate first.”
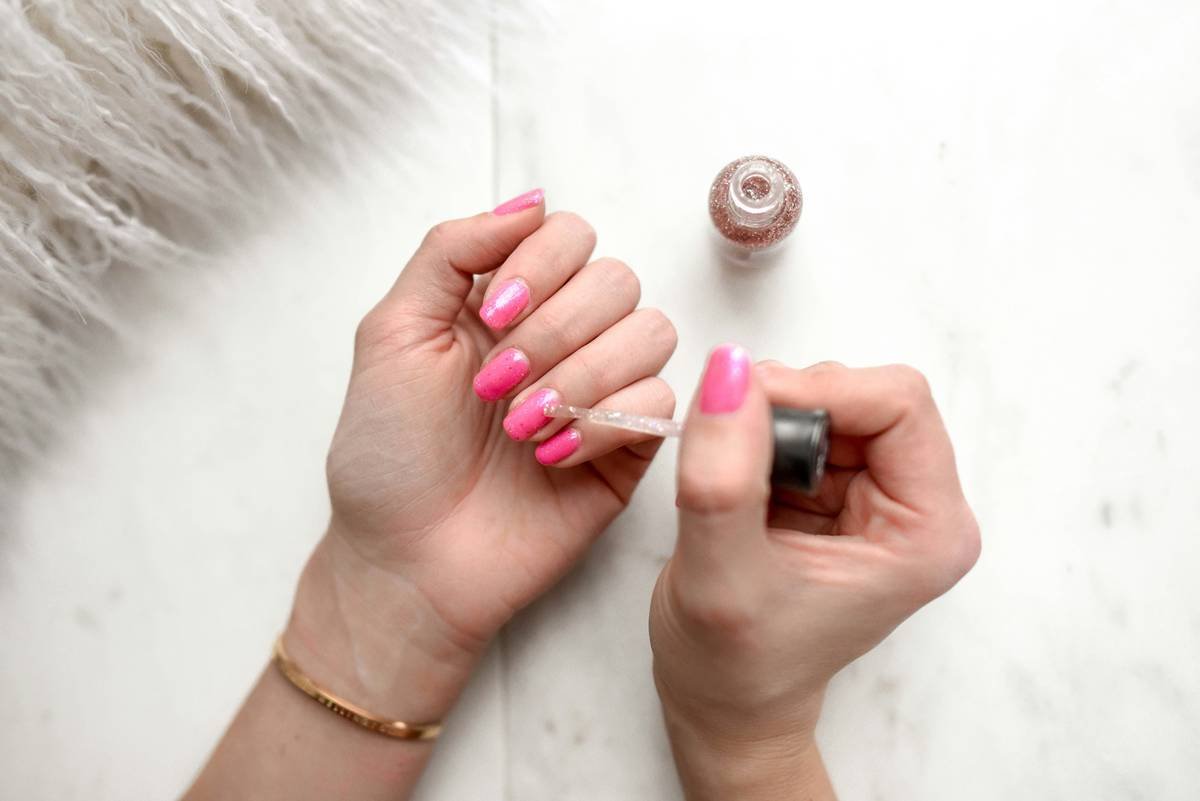
Seriously though: proper prep prevents peeling and bleed. Here’s the foolproof sequence:
- Clean & Dehydrate: Wipe nails with 99% isopropyl alcohol. Oils = stencil enemy #1.
- Apply Base Coat: Cure if using gel. Matte top coats grip stencils better than glossy ones.
- Position the Stencil: Use tweezers. Align slowly—once it sticks, it’s hard to reposition without losing adhesion.
- Seal the Edges (CRITICAL): Brush a *thin* layer of clear gel or stamping polish over the stencil edges. This “locks” it down and blocks color seepage.
- Apply Color: Use a sponge, brush, or stamp. Less is more—dab, don’t drag.
- Cure Immediately: If using gel or hybrid polish, cure *before* peeling off the stencil. Otherwise, you’ll drag wet pigment and blur your crisp lines.
- Peel Gently Backward: Lift toward the cuticle, not sideways.
Pro Tips for Flawless Stencil Application (From Someone Who’s Ruined 12 Bottles of White Gel)
What nobody tells you about stencil longevity?
Reusable stencils sound eco-chic… until they warp after two uses. Stick to single-use adhesive stencils unless you’re doing bulk designs (e.g., bridal parties). Brands like Moyou London and Manucurist offer ultra-thin, precision-cut options that conform to nail curves.
- Avoid water-based polishes. They soak into paper stencils and feather. Use stamping polish or pigmented gel instead.
- Chill your stencils. Store them in the fridge for 10 minutes before use—the cold makes adhesive tackier.
- Layer smartly. Do light colors first, then dark. Dark over light = accidental shadow effects (unless you want that).
- Clean stencils immediately. If reusing, soak in acetone-free remover—acetone dissolves adhesive backing.
- Nail shape matters. Stencils fit coffin and almond nails best. For square or round, trim edges with micro-scissors.
Terrible Tip Disclaimer:
“Use regular tape as a stencil.” NO. Tape leaves residue, lifts too easily, and creates jagged edges. Invest $8 in proper nail stencils. Your future self (and your ring finger) will thank you.
Rant Section: My Pet Peeve
Why do some brands sell “universal” stencils that clearly only fit size 0 nails?! I’m not a hobbit—I have average-sized nails, and half these designs spill over my sidewalls like an abstract tragedy. If your stencil doesn’t come in multiple sizes, skip it. Precision demands fit.
Real Results: From Blurry Blobs to Salon-Worthy Art
Case Study: Sarah K.’s TikTok Transformation
Sarah, a nurse in Austin, posted her first nail stencil attempt in January 2023—a wobbly heart design using dollar-store paper stencils. Bleed everywhere. Engagement: 27 likes.
By March, she switched to adhesive mylar stencils from Nailboo, followed the edge-sealing trick, and used gel polish. Her “cherry blossom ombré” video went viral (382K views). She now runs a side hustle doing stencil kits for brides.
Key change? She stopped treating stencils like stickers and started treating them like precision tools—clean surface, sealed edges, cured layers. No magic. Just method.
Nail Stencil Decoration FAQs
Can I use nail stencils with dip powder?
Yes—but apply the stencil *after* your activator step and before the final sealant. Use a dry brush to dab powder lightly over the stencil to avoid clumping.
Do stencils damage nails?
No, if removed gently. Aggressive peeling can lift the top layer of the nail plate. Always peel slowly toward the cuticle, never yank.
How long do stenciled designs last?
As long as your base/top coat system. With proper sealing and curing, stenciled art lasts 2–3 weeks with gel, 5–7 days with regular polish.
Are reusable stencils worth it?
Only if you do nail art weekly. Most lose adhesion after 3–5 uses. For occasional users, disposable stencils deliver sharper results.
Can I make my own stencils?
Technically yes (using sticker paper and a Cricut), but commercial stencils are laser-cut for micron-level accuracy. Unless you’ve got a cutting machine and patience thinner than 3-Free polish, buy pro-grade.
Conclusion
Nail stencil decoration isn’t a shortcut—it’s a strategic upgrade. Whether you’re chasing clean negative-space geometry or dreamy watercolor florals, stencils give you control without the chaos. Remember: prep is non-negotiable, seal those edges, cure before peeling, and ditch water-based formulas.
You don’t need steady hands to create gallery-worthy nails. You just need the right tool—and now, you’ve got it.
Like a Lisa Frank trapper keeper, your nails deserve joy, precision, and zero smudges.
Tiny moons gleam bright—
stencil pressed, edges sealed tight,
no bleed in moonlight.