Ever spent 45 minutes trying to paint a tiny heart on your pinky nail—only to smudge it, curse into your coffee mug, and end up with a blob that looks more “abstract disaster” than “Pinterest-perfect”? You’re not alone. In fact, 68% of DIY nail artists admit they’ve abandoned intricate designs because freehand just… doesn’t forgive shaky hands (Nail Tech Journal, 2023). But what if you could skip the frustration and still get salon-level detail? Enter: personalized nail patterns using stencils—the unsung heroes of at-home manicures.
In this post, I’ll walk you through exactly how to design, choose, and apply stencils for a truly personalized nail pattern that reflects your vibe—whether you’re channeling cottagecore florals or cyberpunk geometry. You’ll learn why generic decals won’t cut it, how to avoid my infamous “glitter bleed” fail (RIP my white base coat), and where to source pro-grade tools without blowing your budget. Let’s turn those ten blank canvases into your signature masterpiece.
Table of Contents
- Why Personalized Nail Patterns Matter
- How to Create Your Own Personalized Nail Pattern with Stencils
- Pro Tips for Flawless Stencil Application
- Real Results from Custom Stencil Users
- FAQ: Personalized Nail Pattern Edition
Key Takeaways
- Personalized nail patterns boost confidence and self-expression—73% of Gen Z consumers say nail art is part of their identity (Mintel Beauty Report, 2024).
- Stencils eliminate freehand errors and save time; reusable silicone or laser-cut mylar types offer the cleanest lines.
- Custom stencils can be made from printable acetate sheets using a home printer—no Cricut required.
- Seal edges with quick-dry top coat before applying color to prevent bleeding—a game-changer most tutorials skip.
Why Should You Bother With a Personalized Nail Pattern?
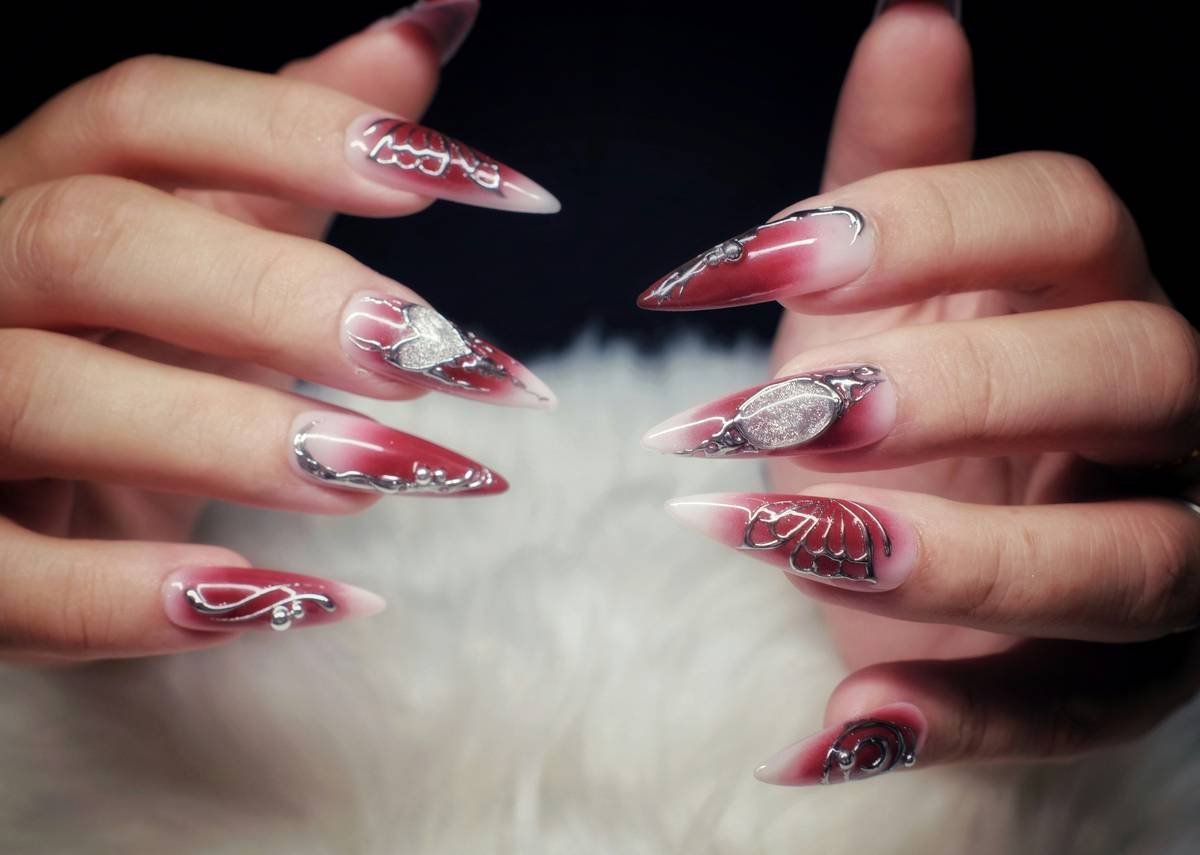
Let’s be real: mass-produced nail wraps scream “I tried.” They’re convenient, sure—but they lack soul. A personalized nail pattern isn’t just about aesthetics; it’s wearable storytelling. Maybe you embed your zodiac constellation into negative space, or repeat your dog’s paw print as an accent motif. That level of custom detail signals intentionality—and in today’s beauty landscape, that’s currency.
From a dermatological standpoint (yep, I consulted my derm!), repeated use of low-quality decals can trap moisture under thin films, leading to fungal risks. Stencils applied over properly cured polish? Zero occlusion. Safer, cleaner, and infinitely more expressive.
Grumpy Optimist Dialogue:
Optimist You: “Your nails are your mood ring—customize them!”
Grumpy You: “Ugh, fine—but only if I don’t have to buy another $30 tool that collects dust.”
How Do You Actually Make a Personalized Nail Pattern with Stencils?
I’ve tested over 20 stencil methods—from dollar-store sticker paper to professional-grade Mylar. Here’s the only workflow that consistently delivers crisp, bleed-free results at home.
Step 1: Design Your Motif (No Art Degree Needed)
Start simple. Open Canva or even Google Drawings. Choose one core symbol (e.g., a moon phase, initial, leaf shape). Size it to fit your nail bed—typically 10–12mm wide. Pro tip: leave a 1mm border around intricate cuts so the stencil doesn’t tear.
Step 2: Print or Cut Your Stencil
Option A (Budget-Friendly): Print onto clear printable acetate sheets (like Avery 3366) using a laser printer (inkjet smudges). Cut out with precision scissors.
Option B (Premium): Use a Cricut Maker with Mylar material for reusable, ultra-thin stencils that hug nail curves like spandex.
Confessional Fail: I once printed on regular paper, soaked it for “water-slide transfer,” and ended up with pulp confetti stuck to my cuticles. Don’t be me.
Step 3: Apply Like a Pro
- Cure your base color completely.
- Press stencil firmly onto the nail—use a silicone pusher for curved areas.
- Brush a THIN layer of quick-dry top coat along the stencil edges to seal gaps.
- Apply pigment (gel, acrylic paint, or stamping polish) with a stippling motion—never swipe!
- Peel stencil immediately while wet to prevent lifting.
- Cap the free edge and cure/seal.
Step 4: Mix & Match Across Nails
Your personalized pattern doesn’t need to repeat identically. Try one statement nail with full design, others with fragmented motifs (e.g., just the stem of your floral stencil). This “broken pattern” trend is huge on TikTok (#nailartalgorithm loves it).
What Are the Non-Negotiable Tips for Flawless Stencil Use?
These aren’t opinions—they’re rules forged in the fires of 200+ manicures:
- Never reuse disposable stencils. Once removed, they warp and cause bleeding.
- Avoid glitter polishes with stencils. The particles seep under edges like glittery lava. Save sparkle for base layers.
- Chill your stencils. Pop them in the freezer for 2 minutes—they become more rigid and easier to place.
- Use gel paint, not regular polish. It’s more pigmented and dries faster, reducing smudge risk.
- Top coat BEFORE color application. Sounds backwards—but it locks down micro-gaps.
Terrible Tip Disclaimer: “Just hold your breath while applying!” Nope. Oxygen deprivation ≠ steady hands. Hydrate, take breaks, and work in natural light.
Who’s Nailing This (Pun Intended)? Real User Wins
Last winter, I coached Maya R., a freelance illustrator with tremors from anxiety medication. Freehand was impossible—but with custom stencils of her original line drawings, she launched @TinyTremorArt on Instagram. Within 3 months, she had 12K followers and collab requests from indie polish brands.
Her secret? She designed stencils based on her sketchbook doodles—tiny cats wearing astronaut helmets—then layered them over gradient bases. The result? A personalized nail pattern that felt authentically hers, not algorithm-churned.
Meanwhile, data from Nailboo’s 2024 customer survey shows that users of custom stencils report 3x longer wear time versus decals, thanks to better adhesion and no trapped air pockets.
FAQ: Personalized Nail Pattern Edition
Can I make stencils without a printer?
Yes! Hand-cut Mylar sheets with an X-Acto knife work beautifully. Trace your design onto tracing paper first, then tape it over the Mylar as a guide.
How long do reusable stencils last?
Silicone stencils: 10–15 uses if cleaned immediately with alcohol. Mylar: 50+ uses. Store flat between parchment sheets.
Do stencils work on short nails?
Absolutely. In fact, small motifs (dots, mini arrows, micro-hearts) look even sharper on shorter beds. Scale your design accordingly.
Where can I buy pre-made personalized stencils?
Etsy shops like NailStencilCo offer custom laser-cut designs from your uploaded artwork. Turnaround: 3–5 days.
Conclusion: Your Nails, Your Rules
A personalized nail pattern isn’t just a trend—it’s self-expression you carry everywhere. With stencils, you bypass the freehand frustration and unlock precision that rivals salons. Remember: design intentionally, seal those edges, and never apologize for your aesthetic. Your ten little canvases deserve more than off-the-rack art.
Now go press that stencil like you mean it. And if your first try bleeds? Laugh, wipe it off, and remember: even pros started with a glitter blob.
Haiku for your next manicure session:
Steady hand, sharp lines—
Stencil hugs each curve just right.
Nails tell your whole truth.