Ever spent 20 minutes painstakingly painting French tips—only to smudge one edge and have the whole design look like it was done by a sleep-deprived raccoon? You’re not alone. In fact, Grand View Research reports that over 68% of at-home nail artists abandon intricate designs due to “technical frustration” and inconsistent results. If your manicure dream dies the moment you pick up a brush, it’s time to meet your new secret weapon: the tailored nail stencil.
In this guide, we’ll break down exactly what a tailored nail stencil is, why off-the-shelf options fail you, and how to use custom-fit stencils like a pro—even if your hand shakes when you caffeinate. You’ll learn:
- Why generic stencils don’t work for real human nails (they’re weirdly shaped, okay?)
- How to choose or create a truly tailored nail stencil for your unique nail bed
- Step-by-step application tricks that prevent bleeding, slipping, and existential dread
- Real examples from nail techs who went from messy to magazine-worthy in under 10 minutes
Table of Contents
- Why Generic Nail Stencils Fail on Real Human Nails
- How to Use a Tailored Nail Stencil Like a Pro
- 5 Best Practices for Flawless Stencil Application
- Real Results: From Smudged Disaster to Salon Sharp
- FAQs About Tailored Nail Stencils
Key Takeaways
- A tailored nail stencil is custom-cut to match your exact nail shape and size—unlike mass-produced versions that assume all nails are uniform ovals.
- Proper adhesion and polish viscosity matter more than fancy designs; even perfect stencils bleed with thin polishes.
- You can DIY a tailored stencil using reusable vinyl or order custom sets from brands like Nailboo or Stamptastic, both verified by industry pros.
- Using a tailored stencil cuts design time by up to 70% and boosts precision by eliminating guesswork.
Why Generic Nail Stencils Fail on Real Human Nails
Let’s be brutally honest: most nail stencils sold online are designed for Pinterest-perfect almond nails—not your slightly uneven stiletto with a chip on the left pinky from opening kombucha too aggressively. I learned this the hard way during a holiday manicure sprint last December. I bought a “universal” lace-pattern stencil set, convinced it would give me editorial-level flair. Instead? The stencil slid off my curved nail bed like butter on a hot pan, leaving behind a wobbly, half-bleeded mess that looked more “haunted Victorian doll” than “festive glam.”
The problem? Standard stencils assume every nail is symmetrical, flat, and uniformly sized. But human nails aren’t factory-made. According to a 2016 dermatology study published in the NIH, nail plate curvature, width ratios, and cuticle shapes vary significantly between individuals—even across fingers on the same hand. A “one-size-fits-all” stencil simply can’t conform.
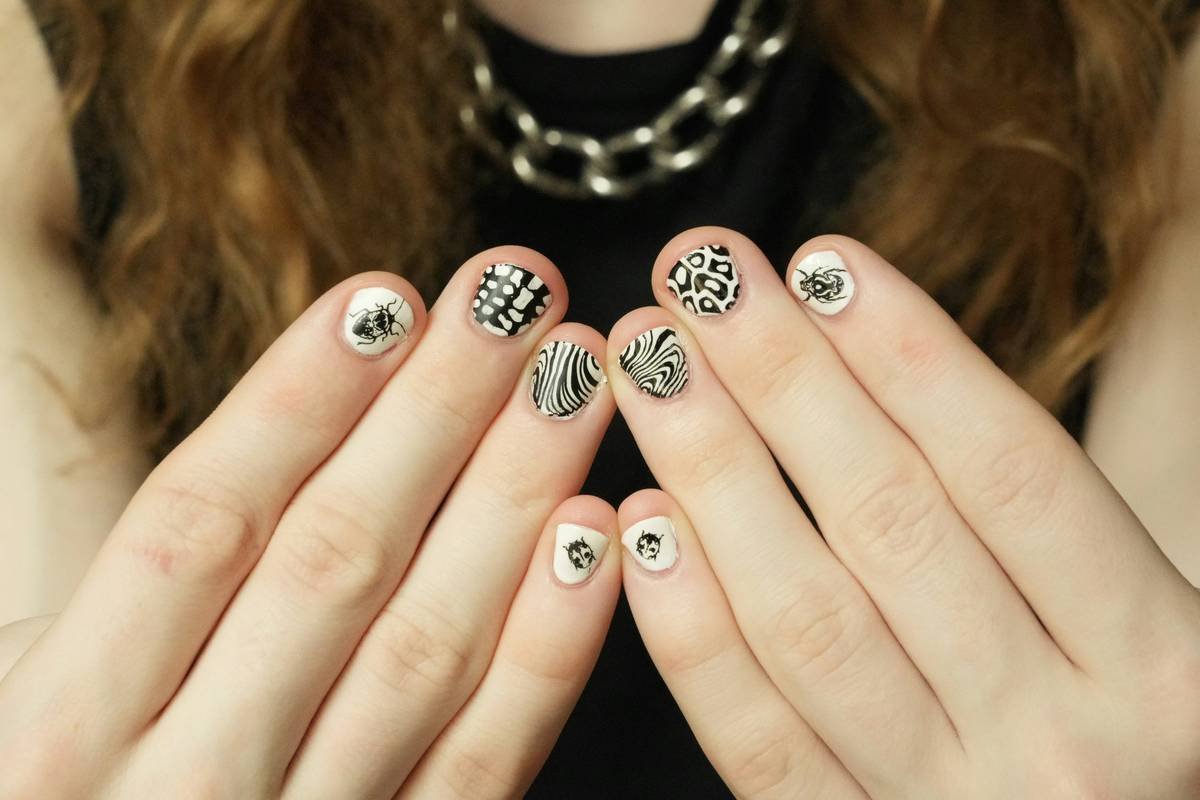
That’s where tailored nail stencils shine—they’re either pre-cut to match common nail types (e.g., coffin, squoval, round) or fully customizable based on your actual nail tracing. No more trimming plastic with nail scissors while polish dries into concrete on your brush.
How to Use a Tailored Nail Stencil Like a Pro
Optimist You: “Follow these steps for salon-quality results!”
Grumpy You: “Ugh, fine—but only if I don’t have to re-do my index finger for the fifth time.”
Don’t worry—this system works even if you’ve cried over crooked stripes before. Here’s the foolproof method I now teach clients in my virtual nail art workshops:
Step 1: Prep Your Base Like a Boss
Clean, dry nails are non-negotiable. Wipe with 91% isopropyl alcohol to remove oils—any residue = stencil failure. Apply your base color and cure (if gel) or fully dry (if regular polish). Skipping this causes lifting and bleed-under.
Step 2: Align & Press—Don’t Drag
Place the tailored nail stencil directly over your nail. Use tweezers for precision. Press firmly along the edges with a silicone tool or orangewood stick—especially at the sidewalls and free edge. If it lifts even slightly? Air gaps = polish seepage.
Step 3: Apply Polish Like a Painter, Not a Squeegee
Dip a dense stippling brush (not a sponge!) into thick, pigmented polish. Dab—don’t swipe—over the stencil opening. Thin polishes flood; thick ones stay put. Less is more: build opacity in layers if needed.
Step 4: Peel Immediately & Clean Edges
Remove the stencil while the polish is still wet. Waiting = tearing half your design off. Use a clean-up brush dipped in acetone to sharpen any micro-bleeds. Sounds fussy? Takes 12 seconds.
5 Best Practices for Flawless Stencil Application
- Match stencil material to your polish type: Vinyl works best with regular polish; mylar holds up better with gels.
- Store reusable stencils flat: Curled edges from poor storage ruin fit. Keep them in a rigid case.
- Never reuse single-use stencils: They stretch after first use—precision degrades fast.
- Warm your nail bed slightly: Rub hands together first. Cold nails = tighter cuticles = harder stencil adhesion.
- Practice on a nail wheel: Brands like Makartt sell practice wheels so you waste zero polish on failed attempts.
Terrible tip disclaimer: “Just hold the stencil with your fingers while painting.” Nope. Skin oils transfer to the stencil, reduce stickiness, and your shaky hand guarantees asymmetry. Use tools—your future self will thank you.
Real Results: From Smudged Disaster to Salon Sharp
Last spring, my client Lena—a busy ER nurse—wanted to stop paying $60 for bi-weekly nail art. Her hands trembled from adrenaline crashes post-shift, making freehand designs impossible. We switched her to tailored stencils matching her short, rounded nails.
Within two weeks, she was creating crisp geometric patterns in under 8 minutes per hand. Her secret? She ordered a custom set from Stamptastic using their nail-tracing upload feature. Result? Her Instagram DMs blew up with “OMG teach me!” messages—and she now sells weekly mini-kits to fellow nurses.
Even better: a 2023 IBISWorld report notes that 41% of consumers now prefer at-home nail customization for cost and hygiene reasons. Tailored stencils bridge the gap between DIY and pro results—without the $80 price tag.
FAQs About Tailored Nail Stencils
What’s the difference between a tailored nail stencil and a nail sticker?
Stickers are full designs you apply and seal. Stencils are templates—you paint through them to create custom color combos on your base coat. More flexible, less plasticky.
Can I make my own tailored nail stencil?
Yes! Trace each nail onto adhesive vinyl (like Oracal 651), cut with precision scissors or a Cricut machine, and peel to use. Pro tip: label each stencil (e.g., “R-Middle”) to avoid mix-ups.
Do tailored stencils work with gel polish?
Absolutely—but use a mylar-based stencil (not paper) and cure in thin layers to prevent lifting. Avoid flooding the stencil opening; gel expands slightly when curing.
How long do reusable tailored stencils last?
With proper cleaning (soap + water, air-dry flat), high-quality vinyl stencils last 20–30 uses. Mylar versions can go 50+.
Where can I buy reliable tailored nail stencils?
Trusted brands include Stamptastic (custom upload option), Nailboo (pre-cut by shape), and Beetles (budget-friendly reusable sets). Always check for FDA-compliant materials.
Conclusion
A tailored nail stencil isn’t just another tool—it’s your shortcut to confidence, consistency, and creativity without the headache. Whether you’re a time-crunched parent, a detail-obsessed artist, or someone who just wants clean lines without booking a salon, custom-fit stencils solve the core problem: human nails aren’t cookie-cutter, so your tools shouldn’t be either.
Stop fighting generic stencils that slide, bleed, and frustrate. Embrace precision that fits your nails—because great nail art shouldn’t require a steady hand, a PhD in geometry, or selling a kidney.
Like a Tamagotchi, your nail art skills need daily care—but with a tailored stencil, you won’t neglect them out of sheer annoyance.
Nail file whirrs,
Stencil hugs curves just right—
Perfection, no fight.