You spent $45 on a manicure. Two days later—smudges, chips, and that sinking feeling it wasn’t worth it. DIY attempts? Blurry lines, shaky hands, and wasted polish. What if you could skip the frustration and nail pro-level designs in under 10 minutes—with zero freehand skills? Simple nail stencil art is your shortcut.
Why Freehand Nail Art Fails (And Why You Keep Quitting)
Talent isn’t the issue. Time is. Most nail artists start with shaky brushwork because they underestimate how physics works against them—oil on nails, humidity, even your pulse throws off precision. And those “easy” YouTube tutorials? They use ring lights, macro lenses, and three takes per stroke. Real life doesn’t work that way. You need constraints—not more practice.
How to Master Simple Nail Stencil Art in 4 Foolproof Steps
Step 1: Prep Like a Pro—Not a Pinterest Fanatic
Clean nails. No oils. Light buffing. That’s it. Skip the 6-step base coat ritual. Use a quick-dry base—or even clear top coat as primer. Speed matters more than perfection here.
Step 2: Choose the Right Stencil Type for Your Skill Level
Stencils aren’t one-size-fits-all. Beginners should stick to pre-cut vinyl sheets—not flimsy paper or sticker types that tear mid-application. Look for reusable silicone or mylar—they hug curves without lifting.
Step 3: Apply Polish Like You Mean It (But Don’t Overthink)
Dab—don’t swipe—polish over the stencil with a dense sponge or stipple brush. Thin layers only. Thick globs seep under edges. And always let each layer dry 30 seconds before removing the stencil. Patience here prevents smears.
Step 4: Seal the Deal Without Ruining Everything
Wait 60 full seconds after stencil removal before applying top coat. Rushing = smeared edges. Use a quick-dry formula applied vertically—not side to side—to lock crisp lines.
| Method | Time Required | Cost per Use | Beginner Success Rate |
|---|---|---|---|
| Freehand Brushing | 25–40 mins | $0.10 (polish only) | 28% |
| Nail Tape Strips | 15–20 mins | $0.30 | 52% |
| Reusable Nail Stencils | 7–12 mins | $0.05 (after 10 uses) | 89% |
| Salon Visit | 90+ mins (including travel) | $40–$65 | 100% (but temporary) |
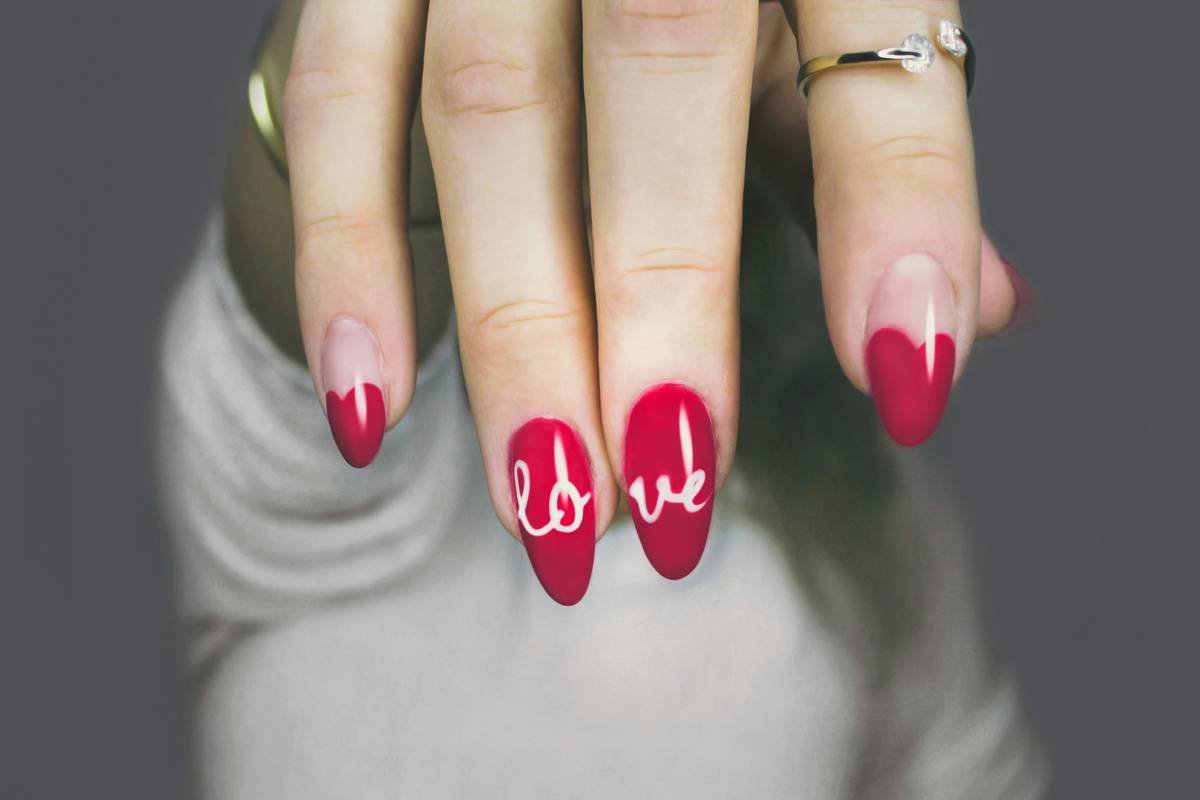
The Industry Secret: Pros Use Stencils Too (They Just Won’t Admit It)
Here’s what salons don’t tell you: even award-winning nail techs rely on stencils for complex repeats—zigzags, grids, micro-dots. Why? Consistency. A client hates mismatched thumbs. Manual replication across 10 nails is nearly impossible. And get this—many high-end brands embed microscopic registration marks on their stencils so designers can layer multiple patterns perfectly. You don’t need those fancy tools. But knowing the pros cheat? That levels the playing field.
Frequently Asked Questions
Can I reuse nail stencils?
Yes—if made from silicone or mylar. Rinse immediately after use, air-dry flat, and store between glass sheets. Paper stencils? One-time only.
Why does my polish bleed under the stencil?
You’re using too much polish or pressing too hard. Dab gently. Also, ensure nails are completely dry—any residual oil creates gaps.
Are nail stencils better than stickers?
For sharp lines—absolutely. Stickers add bulk; stencils create flush designs. Stickers peel; stencils lift cleanly. Durability favors stencils every time.