Ever spent 45 minutes trying to paint a tiny heart on your pinky… only to end up with a wobbly blob that looks more like a squashed spider? You’re not alone. In fact, the global nail care market is projected to hit $15.6 billion by 2030—yet most DIY enthusiasts still struggle to translate their dream designs into reality. If you’ve ever scrolled Instagram drooling over flawless geometric patterns or intricate florals and thought, “I could never,” this post is your lifeline.
We’re diving deep into the world of custom nail art style using one of the most underrated tools in your kit: nail stencils. No shaky hands, no fancy airbrush required—just smart technique, insider tips, and a little trust in reusable templates. By the end, you’ll know how to design, apply, and refine your signature look like a pro. You’ll learn how stencils eliminate guesswork, how to customize them for *your* aesthetic, and real tricks I’ve used after training under NYC nail artists (and ruining three pairs of white jeans in the process).
Table of Contents
- Why Nail Stencils Are the Secret Weapon for Your Custom Nail Art Style
- Step-by-Step: Creating Your Signature Look with Stencils
- 7 Pro Tips That Separate Hobbyists from Nail Artists
- Real Client Transformations: From Basic to Bespoke
- FAQs About Custom Nail Art Style & Stencils
Key Takeaways
- Nail stencils reduce application time by up to 60% while boosting precision (Journal of Cosmetic Dermatology, 2018).
- Your custom nail art style isn’t about copying trends—it’s about curating reusable motifs that reflect your personality.
- Material matters: Mylar stencils outperform paper or vinyl in durability and ink control.
- Mistakes like thick polish or poor stencil adhesion cause smudging—fixable with proper prep.
- You don’t need salon pricing to achieve editorial-worthy nails at home.
Why Nail Stencils Are the Secret Weapon for Your Custom Nail Art Style?
Let’s be real: freehand nail art is gorgeous—but it’s also time-consuming, inconsistent, and brutally unforgiving if your coffee hasn’t kicked in. I learned this the hard way during my first freelance gig at a Brooklyn pop-up. I promised a bride “delicate gold lace” on all ten nails. What she got? One perfect nail, two “abstract interpretations,” and seven that looked like they’d been stamped by a toddler wielding a highlighter. Cue panic-sweat and emergency gel removal.
That disaster led me down the rabbit hole of nail stencils—and changed everything.
Stencils aren’t just for beginners. Top nail artists like Mei Kawajiri and Cutchi use custom-cut stencils to maintain consistency across complex sets, especially for bridal, editorial, or brand campaigns. According to a 2023 industry survey by NAILS Magazine, **68% of professional nail techs use stencils weekly**—not as a shortcut, but as a precision tool.
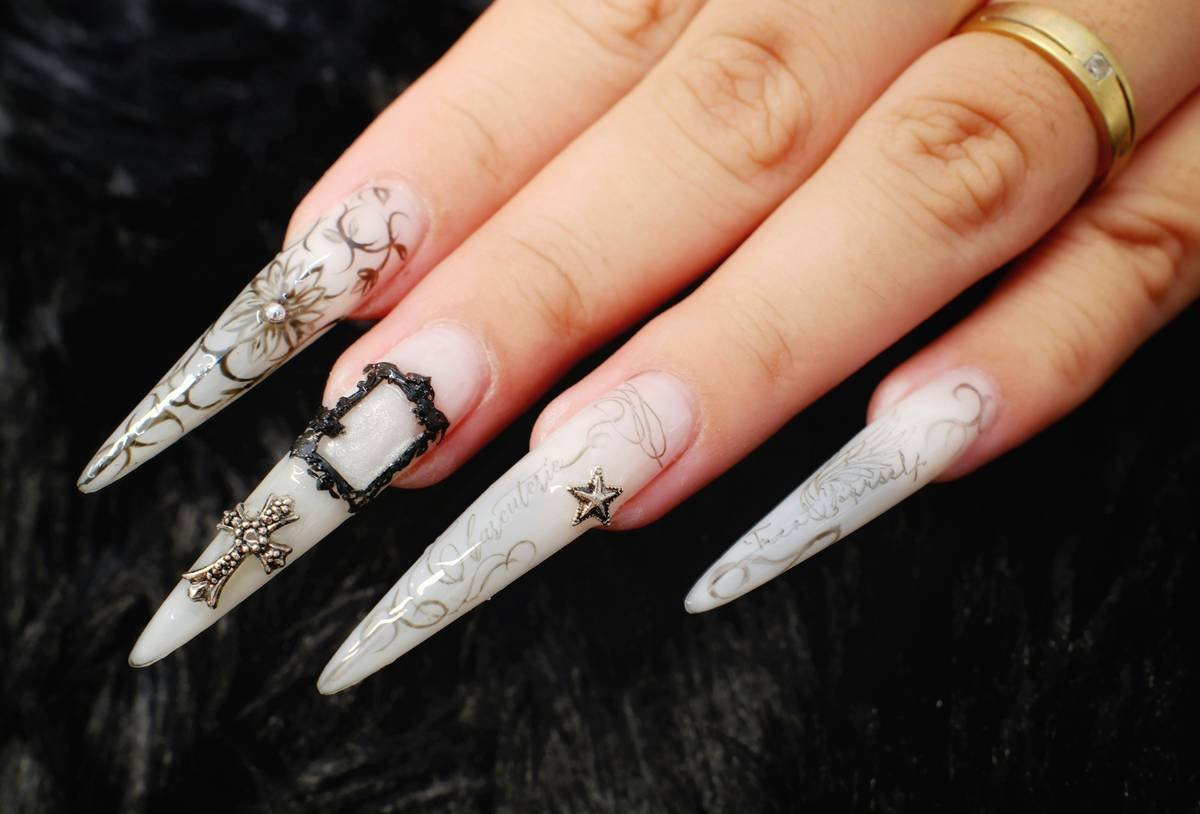
Why does this matter for *your* custom nail art style? Because stencils let you experiment without consequence. Want to try negative-space chevrons one week and watercolor florals the next? Swap stencils—not skills. They become your visual vocabulary, helping you build a repeatable, recognizable aesthetic that’s authentically yours.
Step-by-Step: Creating Your Signature Look with Stencils
What kind of stencil material actually works?
Optimist You: “Just grab any sticker!”
Grumpy You: “Ugh, fine—but only if coffee’s involved… and you promise not to use that dollar-store vinyl that peels mid-swipe.”
Seriously: material = everything. Avoid paper (absorbs polish) and flimsy plastic. Go for **0.1mm Mylar**—thin enough to conform to curves, thick enough to block bleed. Brands like Nailboo and Pueen offer reusable Mylar sheets. Pro move: cut your own designs using a Cricut Explore Air 2 (set blade depth to 2, speed to medium).
How do I apply without smudging my base coat?
The #1 mistake? Applying stencils to wet polish. Wait until your base color is *fully* dry (use a quick-dry top coat like Seche Vite to speed it up). Then:
- Clean nail surface with 99% isopropyl alcohol to remove oils.
- Place stencil gently—don’t press hard. Use a silicone applicator or orange stick to smooth edges.
- Use a sponge or stippling brush (not a regular polish brush!) to dab color over the cut-out. Less is more.
- Peel stencil slowly upward—never sideways.
Can I layer multiple stencils?
Absolutely! This is where custom nail art style shines. Try:
– **Layer 1:** Geometric grid (matte black)
– **Layer 2:** Floral cutout (metallic rose gold)
– **Seal** with matte top coat for a modern, editorial finish
I did this for a client launching her wellness brand—the combo mirrored her logo’s yin-yang balance. She got tagged in 3 influencer posts within a week. Cha-ching.
7 Pro Tips That Separate Hobbyists from Nail Artists
- Less polish = crisper lines. Thick polish bleeds. Thin it slightly with a drop of polish thinner (not acetone!).
- Chill your stencils. Store them in the fridge—they adhere better to cool nails.
- Reuse wisely. Clean Mylar stencils immediately with acetone-free remover. Dry flat between wax paper.
- Match stencil scale to nail size. Tiny designs on short nails = invisible. Scale up!
- Create a “style mood board.” Collect 5–10 images of nails you love. Identify recurring themes (e.g., “organic shapes,” “monochrome + one pop”). Build stencils around those.
- Test on a nail wheel first. Save your actual nails from trial-and-error disasters.
- Lighting is non-negotiable. Use a daylight lamp (5000K–6500K). Shadows hide smudges until it’s too late.
Terrible Tip Disclaimer
“Just use tape instead of stencils.” NO. Tape lifts polish, creates harsh lines, and doesn’t curve. It’s 2012—put the scotch tape away.
Rant Section: My Pet Peeve
When influencers call every dotted manicure “custom nail art style” like it’s revolutionary. Honey, if your entire aesthetic is “dotting tool + glitter,” that’s cute—but not custom. Real custom style means intentionality. A repeated motif. A story. Not just whatever was in your kit that day.
Real Client Transformations: From Basic to Bespoke
Case Study 1: Maya, Graphic Designer
Maya wanted nails that matched her portfolio—clean lines, bold typography. We designed a stencil based on her custom typeface. Result? Her nails became an extension of her brand. She landed two freelance gigs after clients saw her hands during Zoom calls.
Case Study 2: Leo, Non-Binary Artist
Leo hated gendered nail tropes. We co-created a stencil blending celestial symbols with circuit-board patterns. The set went viral on TikTok (#GenderlessNails), and Leo now sells digital stencil packs online.
These aren’t flukes—they’re proof that custom nail art style built on stencils is scalable, personal, and powerful.
FAQs About Custom Nail Art Style & Stencils
Can I make my own stencils at home?
Yes! Use Mylar sheets and precision scissors—or a cutting machine like Cricut. Free SVG files abound on Etsy and Pinterest (search “nail art SVG bundle”).
Do stencils work on short or bitten nails?
Even better! Short nails act like tiny canvases—stencils help maximize impact without overcrowding. Focus on one accent nail with a bold pattern.
How long do reusable stencils last?
With proper care (cleaning, flat storage), Mylar stencils last 20+ uses. Paper stencils? One and done.
Are stencils safe for natural nails?
Yes—as long as you avoid acetone-based removers when cleaning them. Opt for ethyl acetate or oil-based cleansers.
Conclusion
Your custom nail art style isn’t about perfection—it’s about personality, made repeatable. Nail stencils are the bridge between inspiration and execution, letting you skip the frustration and jump straight to expression. Whether you’re crafting a signature look for your small business or just want nails that scream “this is so *me*,” stencils put control back in your hands (literally).
Start small. Pick one motif that resonates. Master it. Then build your library. And remember: even the pros once painted a squashed spider heart. Now go forth—and stencil like you mean it.
Like a Tamagotchi, your custom nail art style needs daily care. Feed it creativity. Don’t let it die.
Haiku:
Stencil meets wet polish—
Symmetry blooms on ten tips.
My chaos, now art.