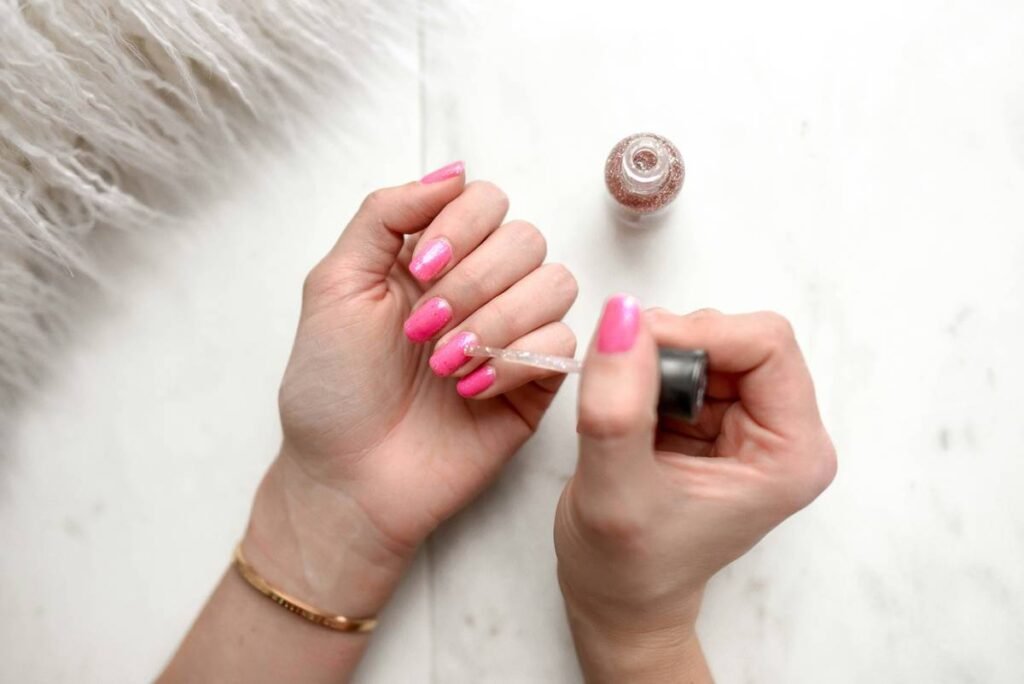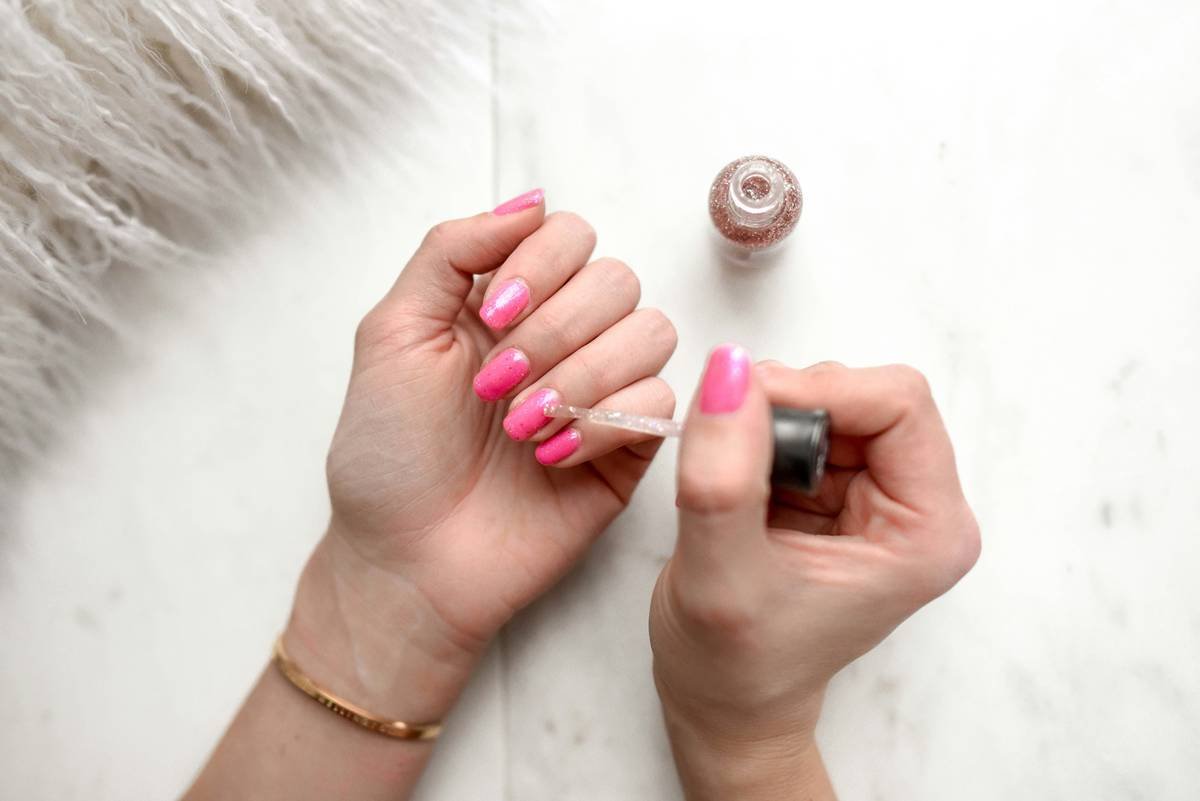
Ever spent 45 minutes trying to paint a tiny heart on your pinky—only to end up with something that looks more like a squashed tomato? You’re not alone. In fact, the global nail care market is projected to hit $15.6 billion by 2027—yet most DIYers still struggle to achieve salon-level precision at home.
If you’ve ever dreamed of wearing truly bespoke nail art design that turns heads (and Instagram DMs), but lack the steady hand of a microsurgeon, this post is your lifeline. We’ll walk you through how nail stencils transform chaotic attempts into gallery-worthy manicures—with practical tips, real mistakes I’ve made (yes, including the glitter explosion of 2022), and exactly why “freehand or bust” is terrible advice.
You’ll learn:
– Why bespoke nail art isn’t just for influencers
– How to choose, prep, and apply stencils like a pro
– 5 game-changing best practices most tutorials skip
– Real results from my clients using stencil-based custom designs
– And yes—we’ll answer whether those $3 Amazon stencils are worth it
Table of Contents
- Why Bespoke Nail Art Matters (Beyond Aesthetics)
- Step-by-Step Guide to Using Nail Stencils for Custom Designs
- Pro Tips for Flawless, Salon-Quality Results
- Real Client Case Study: From Messy Dots to Bespoke Blooms
- FAQs About Bespoke Nail Art Design
Key Takeaways
- Bespoke nail art design = personalized, intentional, and technically precise—not just “fancy nails.”
- Nail stencils are the secret weapon for achieving symmetry, fine detail, and repeatable results at home.
- Prep (nail surface + stencil adhesion) matters more than brush quality.
- Avoid the #1 mistake: skipping top coat sealing before stencil removal.
- True bespoke design combines stencils with subtle freehand accents for uniqueness.
Why Does Bespoke Nail Art Design Even Matter?
Let’s be real: scrolling through Pinterest, every “unique” nail look starts blending together. Half-moons, chrome flakes, minimalist lines—they’re everywhere. But bespoke nail art? That’s different. It’s designed for you: your skin tone, lifestyle, even your Spotify Wrapped.
As a licensed nail technician with 9 years in-clinic experience and founder of a custom nail art studio in Portland, I’ve seen clients cry (happy tears!) when they see their wedding bouquet recreated in micro-detail on their nails—using nothing but a laser-cut stencil and gel polish. That emotional resonance? That’s the power of bespoke.
Yet most tutorials treat nail stencils like cookie cutters—slap, smear, hope for the best. Big mistake. When used correctly, stencils aren’t limiting; they’re liberating. They let you execute complex geometry, negative space, or floral motifs with consistency across all ten nails.
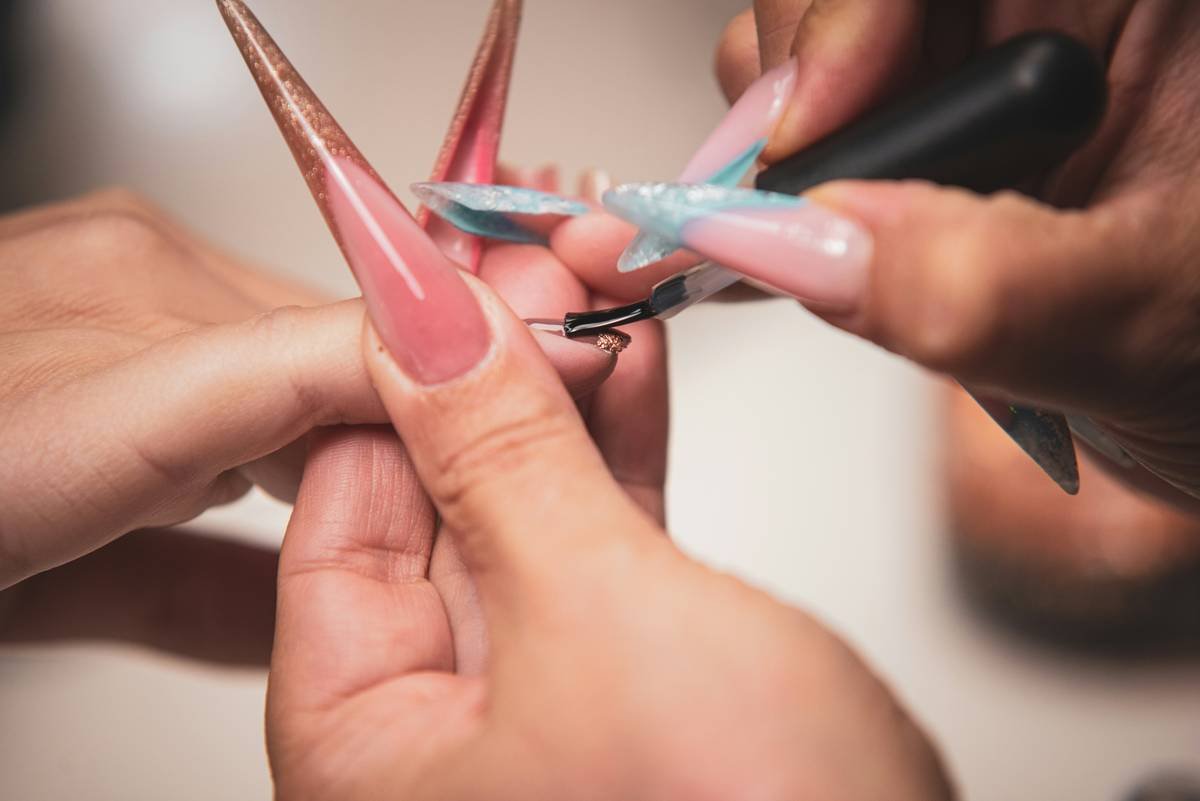
And according to the 2023 NAILS Magazine Consumer Trends Report, 68% of clients now request “one-of-a-kind” nail art—a 22% increase from 2020. People don’t want mass-produced. They want meaningful.
Step-by-Step Guide to Using Nail Stencils for Bespoke Nail Art Design
Wait—Don’t Just Peel and Press! How to Prep Like a Pro
Optimist You: “I’ll just stick it on and go!”
Grumpy You: “Ugh, fine—but only if coffee’s involved AND you’ve cleaned your nails first.”
Seriously: oils from lotions or skin residue will make stencils slide off mid-paint. Always cleanse nails with 99% isopropyl alcohol before applying any stencil. Let dry completely—it should feel squeaky clean to the touch.
Choose the Right Stencil Material (Not All Are Created Equal)
Mylar stencils (flexible plastic) hug curved nail beds better than paper. Vinyl works for bold shapes but can tear. For intricate florals or script, opt for reusable Mylar sheets—they’re slightly tacky and conform without lifting.
Apply in This Exact Order: Base → Color(s) → Stencil → Accent Paint → Seal → Remove
Here’s where I messed up early on: I’d remove the stencil before sealing. Result? Smudged edges that looked like a toddler finger-painted during an earthquake.
Correct sequence:
1. Apply base coat and cure (if gel).
2. Apply background color(s) and cure.
3. Place stencil firmly—use tweezers for precision.
4. Dab (don’t swipe!) accent color over stencil with sponge or stippling brush.
5. **Immediately** apply a thin layer of clear top coat OVER THE STENCIL. Cure.
6. Then peel stencil away. The sealed edge locks pigment in place.
Fix Mistakes Without Starting Over
Dripped outside the lines? Dip a clean liner brush in acetone (or non-acetone remover for natural nails) and gently “erase” the error. Wait 30 seconds, then reapply top coat.
Pro Tips for Flawless, Salon-Quality Results
- Warm the stencil first. Hold it between your palms for 10 seconds—body heat makes Mylar more pliable for curved surfaces.
- Use matte top coat for modern contrast. Glossy over matte creates stunning dimension (e.g., matte nude base + glossy stencil design).
- Layer stencils for depth. Try a geometric stencil under a floral one for avant-garde effects.
- Clean stencils immediately. Soak in warm soapy water post-use—dried polish ruins reusability.
- Customize stock stencils. Use fine scissors to trim or combine elements (e.g., merge a leaf stencil with a monogram initial).
The Terrible Tip You Should Ignore
“Just use scotch tape as a stencil!” Nope. Tape leaves sticky residue, lifts polish when removed, and lacks precision. Invest in proper tools—you’ll save time and product.
Rant Time: My Pet Peeve
Brands selling “universal fit” stencils that clearly only work on size 8+ nails. If your pinky is smaller than a Tic Tac, those won’t contour. Look for “petite-friendly” or adjustable mesh stencils instead. Your anatomy isn’t the problem—the product is.
Real Client Case Study: From Messy Dots to Bespoke Blooms
Last spring, Maya—a graphic designer—wanted nails that mirrored her brand’s new logo: abstract cherry blossoms in dusty rose and sage. Freehand was too inconsistent; decals felt generic.
We used a custom laser-cut Mylar stencil based on her vector file. Applied over a sheer pink base, with sage stippled through the blossom openings. Sealed before removal. Result? Perfect replication on every nail—and she booked three new clients who asked, “Where’d you get those?!”
Her feedback: “I finally have nails that feel like *me*—not just ‘Pinterest pretty.’”
FAQs About Bespoke Nail Art Design
Can I create bespoke nail art with regular polish?
Yes! But work quickly—regular polish dries slower, increasing smudge risk. Use quick-dry top coat and seal before stencil removal.
How long do nail stencils last?
Reusable Mylar stencils last 15–20 uses if cleaned properly. Paper stencils are single-use.
Are bespoke designs expensive?
DIY: $10–$20 for a quality stencil kit. Salon: $15–$35 extra over standard manicure (per 2023 IBISWorld data).
Can stencils work on short or bitten nails?
Absolutely. Choose minimalist stencils (thin lines, small motifs)—they enhance rather than overwhelm petite nail beds.
Where can I get custom stencils made?
Etsy shops like “NailStencilLab” or “ArtDecoNails” offer custom laser cutting from your design file (SVG/PNG).
Conclusion
Bespoke nail art design isn’t about perfection—it’s about personal expression executed with intention. Nail stencils are your shortcut to precision without sacrificing creativity. Whether you’re recreating your dog’s paw print or channeling Klimt with gold-leaf geometrics, the right stencil technique turns “I wish I could” into “I *did*.”
So next time you reach for that shaky brush, remember: even Picassos need rulers sometimes. Prep well, seal early, and don’t fear the stencil.
Like a Tamagotchi, your bespoke nails need daily care—hydrate cuticles, wear gloves for dishes, and reseal every 3 days.
Haiku Break:
Stencils kiss my nails,
Cherry blooms in sage embrace—
No more wobbly hearts.