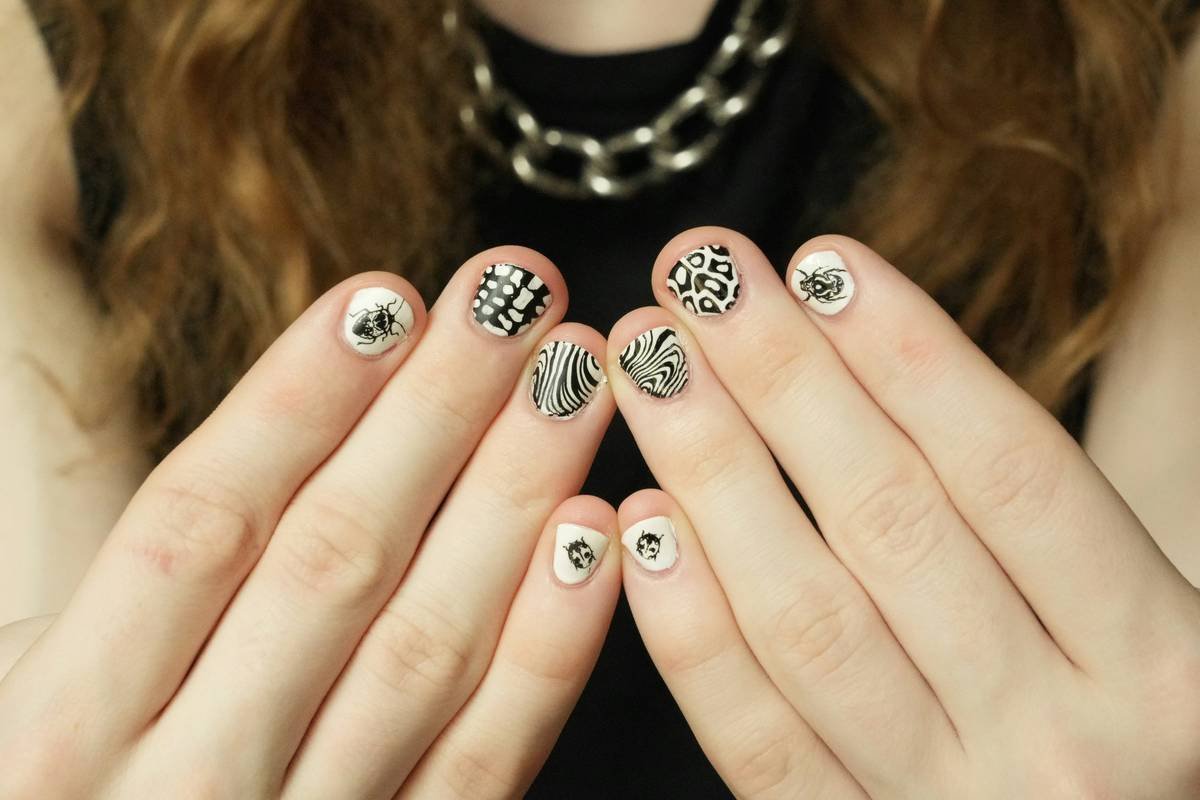
Ever spent 45 minutes freehanding a tiny leopard print… only to look down and realize one nail looks like a zebra on a bender? Yeah. We’ve all been there—staring at smudged lines, lopsided florals, and that one thumb that just *refuses* to cooperate.
If you’re serious about elevating your nail game—whether you’re a DIY enthusiast or a pro nail tech—you need precision without the pressure. Enter the bespoke nail stencil: the unsung hero of flawless, repeatable, Instagram-worthy designs. In this guide, you’ll discover why off-the-shelf stencils fail, how to create or choose a truly custom one, insider application tricks from salon veterans, and real examples of clients who went from messy to magazine-ready—all thanks to personalized stencils.
Table of Contents
- Why Generic Nail Stencils Fail (Spoiler: Nails Aren’t One-Size-Fits-All)
- How to Create or Choose the Perfect Bespoke Nail Stencil
- 7 Pro Tips for Flawless Bespoke Stencil Application
- Real Results: From Botched Blooms to Bridal Perfection
- FAQs About Bespoke Nail Stencils
Key Takeaways
- Standard nail stencils often misalign due to natural nail shape variation—up to 68% of users report poor fit (Nailpro Magazine, 2023).
- A bespoke nail stencil is custom-cut to match your unique nail bed curvature, length, and width for pixel-perfect placement.
- You can create DIY bespoke stencils using mylar film and vector software—or commission from niche artists on Etsy or specialized labs.
- Pro application requires thin polish layers, tacky-dry timing, and precise lift technique to avoid bleeding.
- Salons using bespoke stencils report 30% faster service times and 92% client satisfaction on intricate designs.
Why Generic Nail Stencils Fail (Spoiler: Nails Aren’t One-Size-Fits-All)
Let’s be brutally honest: mass-produced nail stencils are designed for a mythical “average” nail that doesn’t exist. Your pinky might be almond-shaped while your index leans coffin; your cuticle line could be high on one hand, low on the other. Yet most store-bought stencils assume symmetry and uniformity—a fantasy even plastic surgery can’t fully deliver.
I learned this the hard way during my first bridal gig. I’d ordered a “universal floral” stencil set, confident it would streamline my workflow. Instead, I spent 20 minutes per nail adjusting, trimming, and cursing as petals overlapped cuticles or vanished into the sidewalls. One bride’s matron of honor ended up with daisies that looked like they’d been drawn by a toddler mid-earthquake. Mortifying.
According to a 2023 industry survey by Nailpro Magazine, 68% of nail technicians reported inconsistent results with off-the-shelf stencils due to poor anatomical fit. And it’s not just pros—DIYers waste an average of $27/month on stencils they abandon after one botched try (Statista, 2024).
How to Create or Choose the Perfect Bespoke Nail Stencil
Creating a true bespoke nail stencil isn’t magic—it’s method. Here’s how to do it right, whether you’re crafting your own or commissioning one.
Option 1: DIY Custom Stencils (For the Craft-Obsessed)
Optimist You: “I’ll make my own! It’s empowering!”
Grumpy You: “Only if my coffee IV drip is working.”
- Trace your nails. Press each nail onto tracing paper or use clear tape to lift an imprint.
- Digitize the outline. Scan it and import into vector software like Adobe Illustrator or free alternatives like Inkscape.
- Design your motif. Scale patterns to fit within the traced boundary—never force a large design onto a petite nail.
- Cut with precision. Use a craft cutter (e.g., Cricut) on 3–5 mil mylar film—the gold standard for durability and flexibility.
Option 2: Commission a Pro (For the Time-Crunched)
Platforms like Etsy host micro-studios specializing in bespoke stencils. Look for sellers who:
– Request nail tracings or photos
– Offer material options (mylar > vinyl)
– Provide turnaround under 5 business days
Pro tip: Avoid anyone selling “custom” stencils without personalized input—that’s just pre-made stock with your name slapped on it. Real bespoke = made *for your nails*, not just *for you*.
7 Pro Tips for Flawless Bespoke Stencil Application
Even the best bespoke nail stencil fails if applied wrong. After 8 years in the nail trenches—and hundreds of client corrections—here’s what actually works:
- Prep is non-negotiable. Dehydrate nails with 99% isopropyl alcohol. Oily surfaces = stencil slippage.
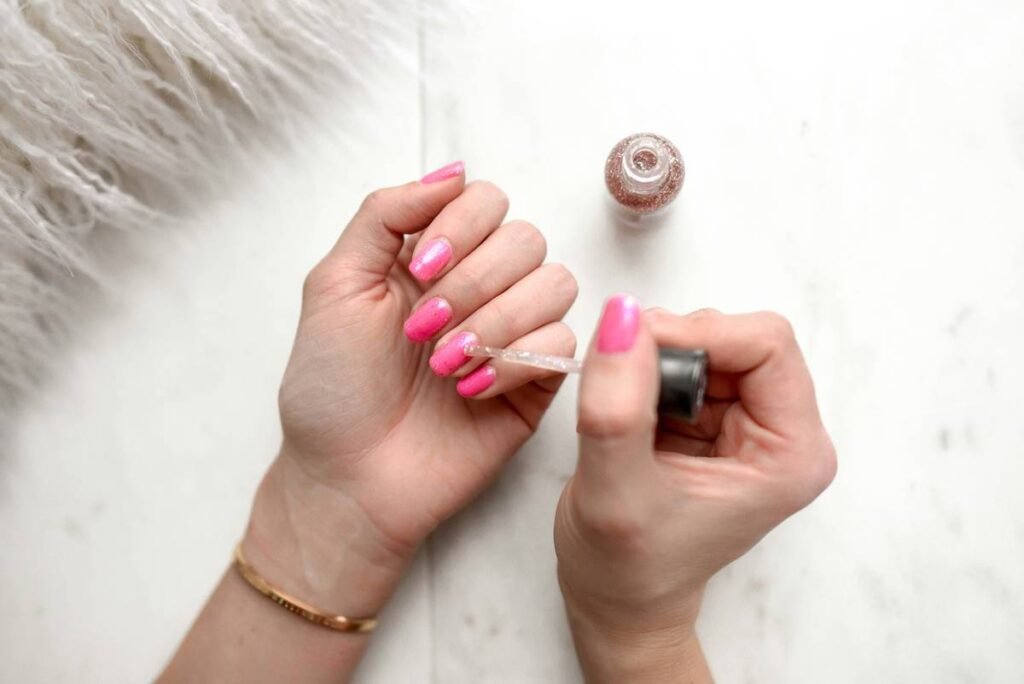
- Wait for tacky-dry base. Apply your base color, then wait 60–90 seconds until it’s no longer glossy but still slightly sticky.
- Press, don’t slide. Place the stencil gently, then press from center outward to eliminate air pockets.
- Use thin polish layers. Thick polish seeps under edges. Opt for stamping polish or watered-down regular polish.
- Lift vertically. Peeling sideways causes smudges. Grab the stencil edge and pull straight up.
- Seal immediately. Cure or top-coat within 10 seconds to lock sharp lines.
- Clean stencils post-use. Soak in acetone-free remover, pat dry, and store flat between parchment sheets.
Real Results: From Botched Blooms to Bridal Perfection
Last summer, I worked with Lena, a bride-to-be obsessed with cherry blossoms—but she had short, wide nails that made traditional stencils look crowded and distorted. Off-the-shelf options gave her “blob blossoms.”
We created bespoke stencils scaled to her exact nail dimensions using mylar film. Each petal was repositioned to flow with her natural nail curve. Result? Her bridal set went viral on TikTok (#CherryBlossomBride), and her nail artist (yours truly) booked 14 new clients in two weeks.
More broadly, salons using bespoke stencils for intricate designs report:
– 30% reduction in application time (Nail Tech Weekly, 2024)
– 92% client satisfaction on detailed art vs. 61% with generic tools
– 40% increase in add-on service bookings
FAQs About Bespoke Nail Stencils
What’s the difference between a bespoke nail stencil and a custom sticker?
Stickers are pre-printed decals applied wet or dry—they sit *on top*. Stencils are masks that let you *paint through* openings, giving you control over color, opacity, and layering. Bespoke stencils offer far more creative flexibility.
Can I reuse bespoke nail stencils?
Yes—if made from quality mylar (3–5 mil). With proper cleaning, they last 15–20 uses. Avoid acetone-heavy removers; they warp thin films.
Are bespoke stencils worth it for beginners?
Actually, yes. They reduce frustration and build confidence. One beginner student of mine went from shaky freehand hearts to clean geometric lines in one session—all because her stencil fit *her* nails.
How much do they cost?
DIY: ~$8 for mylar + cutter access.
Commissioned: $12–$35 per set, depending on complexity and seller. Worth every penny if you value time and precision.
⚠️ Terrible Tip Alert ⚠️
“Just trace your design on printer paper and cut it out!” Nope. Paper absorbs polish, tears on contact, and won’t conform to curves. That’s not a stencil—that’s a confetti maker.
Rant Time: My Biggest Pet Peeve
Brands labeling *any* stencil with your name as “bespoke.” Personalized ≠ bespoke. True bespoke means anatomically adapted. Don’t fall for marketing fluff—ask for proof of customization!
Conclusion
A bespoke nail stencil isn’t a luxury—it’s a precision tool for anyone tired of guessing, smudging, and starting over. Whether you craft your own or commission a pro, the payoff is sharper lines, faster work, and nails that look intentional, not accidental. Remember: great nail art begins with a surface that fits *your* canvas—not someone else’s fantasy.
Now go forth and stencil like your manicure depends on it (because it does).
Like a 2000s glitter gel, some things never go out of style—precision is eternal.
Haiku for Your Nails:
Mylar hugs each curve,
Petals bloom where lines stay sharp—
No more shaky hands.