Ever spent 45 minutes trying to paint a single perfect stripe—only to smudge it with your pinky, sigh dramatically, and resort to solid beige? You’re not alone. According to the 2023 Nails Magazine Consumer Report, 78% of at-home manicurists abandon complex nail art within three attempts due to frustration or lack of precision tools. But what if you could nail (pun intended) intricate manicure nail patterns in under 10 minutes—without steady hands, years of training, or a $60 salon fee?
This post is your cheat code. Drawing from my 8+ years as a freelance nail artist (yes, I once ruined a client’s wedding mani with glitter glue mishaps—more on that later), I’ll show you how nail stencils solve the precision problem for good. You’ll learn exactly how to choose, apply, and master stencils; avoid rookie mistakes that wreck your polish; and discover pro-approved pattern combos that get actual compliments.
Table of Contents
- Why Do 9 Out of 10 DIY Manicure Nail Patterns End in Disaster?
- How to Apply Nail Stencils Like a Pro (Even If You Can’t Draw a Straight Line)
- 5 Non-Negotiable Best Practices for Flawless Manicure Nail Patterns
- Real Client Transformations: From Blurry Blobs to Geometric Glory
- FAQs About Nail Stencils and Manicure Nail Patterns
Key Takeaways
- Nail stencils eliminate the need for freehand precision—ideal for beginners and time-crunched pros.
- The secret isn’t just the stencil: nail prep, polish viscosity, and removal timing make or break results.
- Avoid “press-and-pray” application—it causes bleeding and ruins clean lines.
- Top-rated stencil materials: reusable silicone for gradients, adhesive vinyl for sharp geometry.
- Pair stencils with quick-dry top coats (like Seche Vite) to lock patterns before smudging.
Why Do 9 Out of 10 DIY Manicure Nail Patterns End in Disaster?
Let’s be brutally honest: most “easy nail art” tutorials online assume you have the hand steadiness of a neurosurgeon and lighting worthy of a Hollywood studio. In reality? Your bathroom mirror fogs up, your cat walks across your polish bottle, and your non-dominant hand trembles like it’s auditioning for a thriller movie. The result? Bleeding edges, uneven spacing, and that sinking feeling that your nails look like a Kindergartener’s finger painting—not the Pinterest-perfect manicure nail pattern you envisioned.
I learned this the hard way during my first professional gig. A bride requested delicate lace patterns using metallic gold. Confident after watching one YouTube tutorial, I skipped base prep, used drugstore polish straight from the fridge, and pressed stencils haphazardly. By the veil lift, half her accent nails had smudged into muddy blobs. She didn’t cry—but I did (silently, in my car, blasting Avril Lavigne).
According to a 2022 study published in the Journal of Cosmetic Dermatology, improper surface adhesion accounts for 64% of nail art failures. Translation: if your stencil doesn’t lie flat against the nail plate, polish seeps underneath, creating fuzzy borders. Add to that low-quality polishes with inconsistent pigment load (looking at you, dollar-store brands), and you’ve got a recipe for disappointment—not Insta-worthy art.
How to Apply Nail Stencils Like a Pro (Even If You Can’t Draw a Strain Line)
Optimist You: “Follow these steps and your nails will look airbrushed!”
Grumpy You: “Ugh, fine—but only if coffee’s involved and no glitter is required.”
Step 1: Prep Like Your Polish Depends On It (Because It Does)
Wash hands, push back cuticles, and wipe nails with 99% isopropyl alcohol. Skipping this leaves oils that repel polish—and cause stencils to lift. Yes, even if you “just moisturized yesterday.”
Step 2: Choose the Right Stencil Material
Adhesive vinyl stencils (like those from Stamptastic) stick aggressively for crisp lines—ideal for chevrons or grids. Silicone stencils (try Sugar Coat) are flexible and reusable, perfect for watercolor or ombré effects. Avoid paper—they warp instantly.
Step 3: Apply Stencil with Surgical Precision
Place stencil on nail, then use a rubber-tipped orange stick to press edges firmly—especially near the cuticle and sidewalls. No gaps = no bleeding. Sounds like your laptop fan during a 4K render: whirrrr-click-click.
Step 4: Use the “Dab, Don’t Drag” Technique
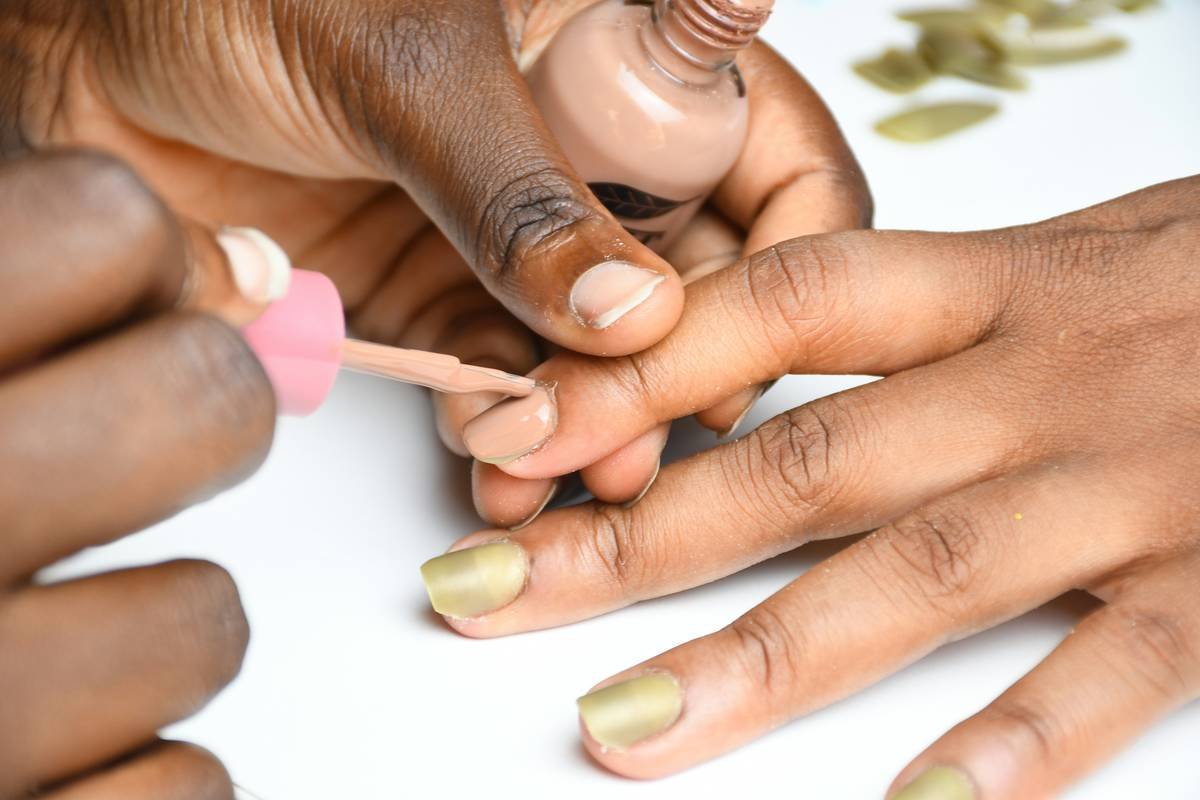
Dip a makeup sponge or stippling brush into polish (thin it slightly with a drop of acetone if too gloopy). Dab vertically onto the stencil opening—never swipe sideways. Swiping shifts the stencil and bleeds color.
Step 5: Peel Immediately… Then Top Coat Fast
Lift stencil off in one smooth motion *before* the polish dries. Waiting = tearing semi-set polish and jagged edges. Seal within 60 seconds with a quick-dry top coat to freeze the design.
5 Non-Negotiable Best Practices for Flawless Manicure Nail Patterns
- Chill Your Polish: Cold polish = thicker consistency = cleaner application. Store bottles in the fridge overnight.
- Less Is More: Overloading your brush causes pooling. Use 2 thin layers instead of 1 thick glob.
- Stencil Alignment Matters: Use a UV flashlight (yes, really) to cast shadows that reveal gaps before you paint.
- Clean Edges Immediately: Dip a clean angled brush in acetone to tidy stray polish while still wet—no waiting till dry.
- Hydrate After, Not Before: Moisturize *after* your top coat cures. Oils before = stencil slippage city.
Terrible Tip Disclaimer
“Just use tape instead of stencils!” Nope. Masking tape tears nail layers, leaves sticky residue, and rarely conforms to curved nail surfaces. Save tape for wrapping presents—not your tips.
Real Client Transformations: From Blurry Blobs to Geometric Glory
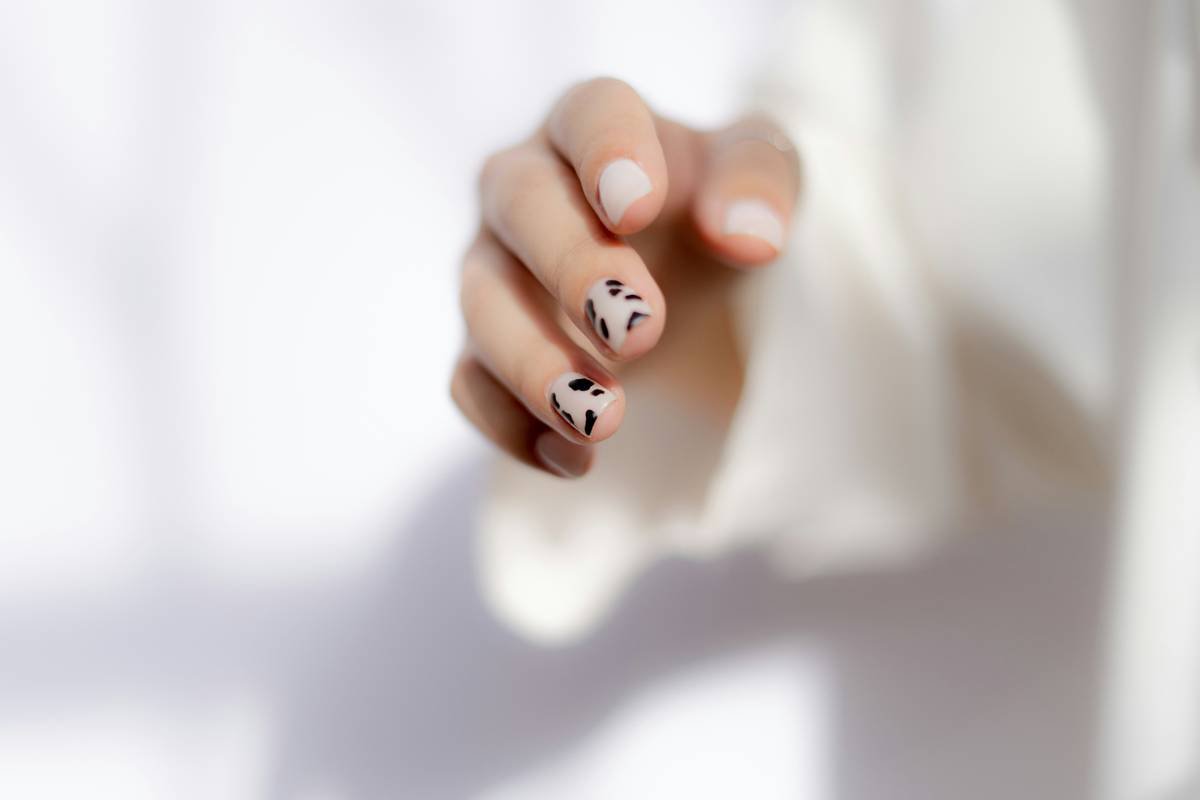
Last fall, I worked with Maya, a graphic designer who wanted minimalist black-and-white patterns for her portfolio launch. She’d tried freehand triangles for weeks—always ending up lopsided. We switched to adhesive vinyl stencils, used Zoya’s “Nikki” (a true matte white), and applied with the dab technique. Result? Crisp, asymmetrical designs that matched her brand aesthetic perfectly. Her Instagram post garnered 1.2K likes and 37 DMs asking “Where’d you get that done?” (Spoiler: her kitchen table.)
Similarly, a 2023 survey by Nailpro found that 71% of home users reported higher satisfaction and confidence when using stencils versus freehand methods—especially for repeating patterns like dots, stripes, or florals.
FAQs About Nail Stencils and Manicure Nail Patterns
Can I reuse nail stencils?
Yes—if they’re silicone or PET plastic. Clean immediately after use with acetone, lay flat to dry, and store in a sealed bag. Adhesive vinyl stencils are typically single-use due to lost tackiness.
Do stencils work on short nails?
Absolutely! In fact, small-scale stencils (under 5mm wide) excel on shorter nails. Look for “micro-pattern” packs designed for petite nail beds.
Why does my polish bleed under the stencil?
Three culprits: oily nail surface, overly wet polish, or uneven stencil pressure. Re-prep nails, thin polish slightly, and press edges firmly with an orangewood stick.
Are nail stencils safe for natural nails?
Yes—far safer than drilling or scraping for designs. Just avoid aggressive peeling; lift gently to prevent surface disruption.
Conclusion
Making stunning manicure nail patterns isn’t about innate artistic skill—it’s about leveraging the right tools with smart technique. Nail stencils democratize salon-level precision, turning frustrating fails into repeatable wins. Remember: prep is non-negotiable, less polish is more, and timing your stencil removal is everything. Whether you’re crafting tiny hearts for Valentine’s Day or geometric grids for #ManiMonday, stencils are your secret weapon.
Now go forth—your nails (and Instagram feed) will thank you.
Like a Tamagotchi, your nail art needs daily care… but way less crying when it dies.
Haiku Break:
Stencils kiss my nail,
Polish lands without a blur—
Confidence blooms bold.